Building Flex Body Models - Kxcad.net
Building Flex Body Models - Kxcad.net
Building Flex Body Models - Kxcad.net
You also want an ePaper? Increase the reach of your titles
YUMPU automatically turns print PDFs into web optimized ePapers that Google loves.
18<br />
Adams/<strong>Flex</strong><br />
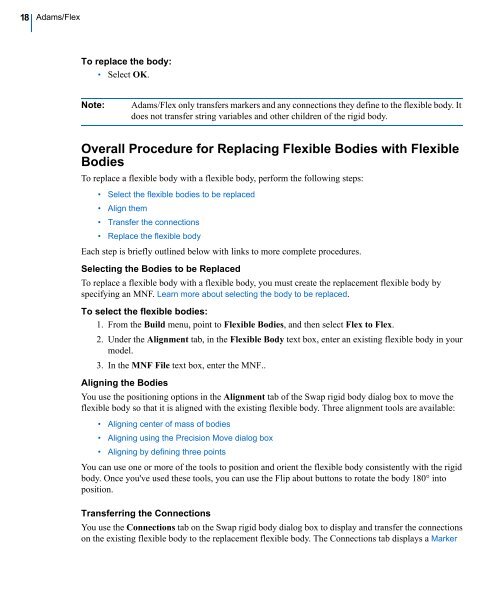
To replace the body:<br />
• Select OK.<br />
Note: Adams/<strong>Flex</strong> only transfers markers and any connections they define to the flexible body. It<br />
does not transfer string variables and other children of the rigid body.<br />
Overall Procedure for Replacing <strong>Flex</strong>ible Bodies with <strong>Flex</strong>ible<br />
Bodies<br />
To replace a flexible body with a flexible body, perform the following steps:<br />
• Select the flexible bodies to be replaced<br />
• Align them<br />
• Transfer the connections<br />
• Replace the flexible body<br />
Each step is briefly outlined below with links to more complete procedures.<br />
Selecting the Bodies to be Replaced<br />
To replace a flexible body with a flexible body, you must create the replacement flexible body by<br />
specifying an MNF. Learn more about selecting the body to be replaced.<br />
To select the flexible bodies:<br />
1. From the Build menu, point to <strong>Flex</strong>ible Bodies, and then select <strong>Flex</strong> to <strong>Flex</strong>.<br />
2. Under the Alignment tab, in the <strong>Flex</strong>ible <strong>Body</strong> text box, enter an existing flexible body in your<br />
model.<br />
3. In the MNF File text box, enter the MNF..<br />
Aligning the Bodies<br />
You use the positioning options in the Alignment tab of the Swap rigid body dialog box to move the<br />
flexible body so that it is aligned with the existing flexible body. Three alignment tools are available:<br />
• Aligning center of mass of bodies<br />
• Aligning using the Precision Move dialog box<br />
• Aligning by defining three points<br />
You can use one or more of the tools to position and orient the flexible body consistently with the rigid<br />
body. Once you've used these tools, you can use the Flip about buttons to rotate the body 180° into<br />
position.<br />
Transferring the Connections<br />
You use the Connections tab on the Swap rigid body dialog box to display and transfer the connections<br />
on the existing flexible body to the replacement flexible body. The Connections tab displays a Marker


