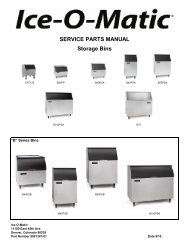
Models SG-WAC-15ESE SG-WAC-18ESE SG-WAC ... - Air & Water
Models SG-WAC-15ESE SG-WAC-18ESE SG-WAC ... - Air & Water
Models SG-WAC-15ESE SG-WAC-18ESE SG-WAC ... - Air & Water

You also want an ePaper? Increase the reach of your titles
YUMPU automatically turns print PDFs into web optimized ePapers that Google loves.
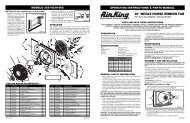
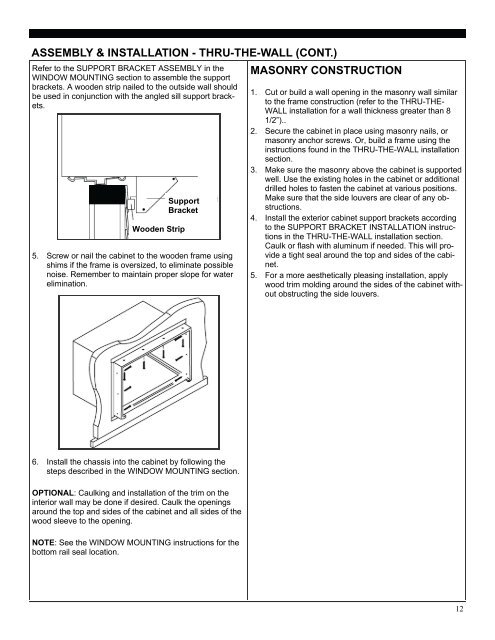
ASSEMBLY & INSTALLATION - THRU-THE-WALL (CONT.)MASONRY CONSTRUCTIONRefer to the SUPPORT BRACKET ASSEMBLY in theWINDOW MOUNTING section to assemble the supportbrackets. A wooden strip nailed to the outside wall shouldbe used in conjunction with the angled sill support brackets.SupportBracketWooden Strip5. Screw or nail the cabinet to the wooden frame usingshims if the frame is oversized, to eliminate possiblenoise. Remember to maintain proper slope for waterelimination.1. Cut or build a wall opening in the masonry wall similarto the frame construction (refer to the THRU-THE-WALL installation for a wall thickness greater than 81/2”)..2. Secure the cabinet in place using masonry nails, ormasonry anchor screws. Or, build a frame using theinstructions found in the THRU-THE-WALL installationsection.3. Make sure the masonry above the cabinet is supportedwell. Use the existing holes in the cabinet or additionaldrilled holes to fasten the cabinet at various positions.Make sure that the side louvers are clear of any obstructions.4. Install the exterior cabinet support brackets accordingto the SUPPORT BRACKET INSTALLATION instructionsin the THRU-THE-WALL installation section.Caulk or flash with aluminum if needed. This will providea tight seal around the top and sides of the cabinet.5. For a more aesthetically pleasing installation, applywood trim molding around the sides of the cabinet withoutobstructing the side louvers.6. Install the chassis into the cabinet by following thesteps described in the WINDOW MOUNTING section.OPTIONAL: Caulking and installation of the trim on theinterior wall may be done if desired. Caulk the openingsaround the top and sides of the cabinet and all sides of thewood sleeve to the opening.NOTE: See the WINDOW MOUNTING instructions for thebottom rail seal location.12