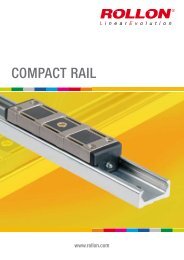
COMPACT RAIL (pdf; EN) - Rollon
COMPACT RAIL (pdf; EN) - Rollon
COMPACT RAIL (pdf; EN) - Rollon
- No tags were found...

You also want an ePaper? Increase the reach of your titles
YUMPU automatically turns print PDFs into web optimized ePapers that Google loves.
6 Installation instructionsRail installation without support(1) Carefully lay the guide rail with installed slider on the mounting surfaceand slightly tighten the fixing screws so that the guide rail lightly touchesthe mounting surface.Fig. 102(2) Install a dial indicator so that the offset of the rail to a reference linecan be measured. Now position the slider in the center of the rail and setthe dial indicator to zero. Move the slider back and forth between eachtwo hole spacings and carefully align the rail. Fasten the three centerscrews of this area now with the the specified tightening torque, see pg.fig. 103(3) Now position the slider on one end of the rail and carefully alignthe rail to zero on the dial indicator.Fig. 103(4) Begin to tighten the screws as specified while moving the slider togetherwith the dial indicator. Make sure that it does not show any significantdeflection. Repeat this procedure from the other end of the rail.Fig. 10464 www.rollon.com