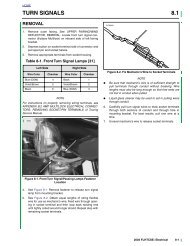
7.5 clutch release cover - harley-davidson-sweden.se
7.5 clutch release cover - harley-davidson-sweden.se
7.5 clutch release cover - harley-davidson-sweden.se
- No tags were found...

You also want an ePaper? Increase the reach of your titles
YUMPU automatically turns print PDFs into web optimized ePapers that Google loves.
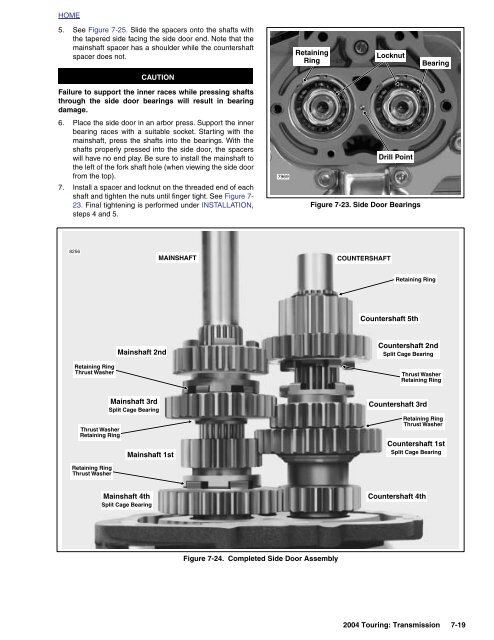
HOME5. See Figure 7-25. Slide the spacers onto the shafts withthe tapered side facing the side door end. Note that themainshaft spacer has a shoulder while the countershaftspacer does not.RetainingRingLocknutBearingCAUTIONFailure to support the inner races while pressing shaftsthrough the side door bearings will result in bearingdamage.6. Place the side door in an arbor press. Support the innerbearing races with a suitable socket. Starting with themainshaft, press the shafts into the bearings. With theshafts properly pres<strong>se</strong>d into the side door, the spacerswill have no end play. Be sure to install the mainshaft tothe left of the fork shaft hole (when viewing the side doorfrom the top).7. Install a spacer and locknut on the threaded end of eachshaft and tighten the nuts until finger tight. See Figure 7-23. Final tightening is performed under INSTALLATION,steps 4 and 5.7969Drill PointFigure 7-23. Side Door Bearings8256MAINSHAFTCOUNTERSHAFTRetaining RingCountershaft 5thMainshaft 2ndCountershaft 2ndSplit Cage BearingRetaining RingThrust WasherThrust WasherRetaining RingThrust WasherRetaining RingMainshaft 3rdSplit Cage BearingMainshaft 1stCountershaft 3rdRetaining RingThrust WasherCountershaft 1stSplit Cage BearingRetaining RingThrust WasherMainshaft 4thSplit Cage BearingCountershaft 4thFigure 7-24. Completed Side Door As<strong>se</strong>mbly2004 Touring: Transmission 7-19