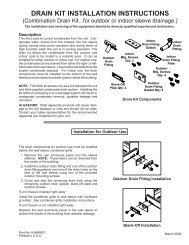
56701-IPI only
56701-IPI only
56701-IPI only

You also want an ePaper? Increase the reach of your titles
YUMPU automatically turns print PDFs into web optimized ePapers that Google loves.
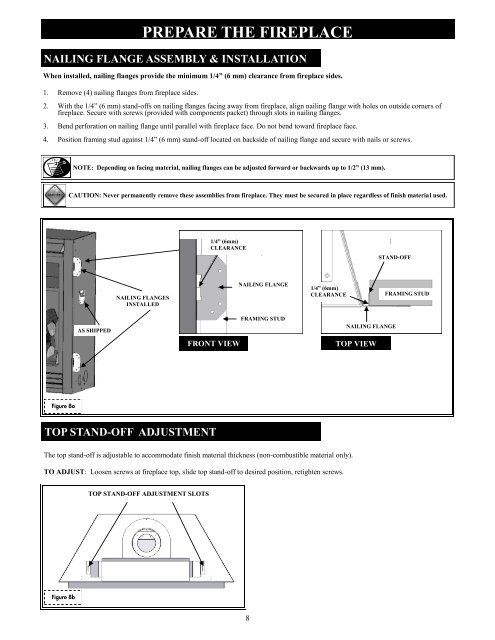
NAILING FLANGE ASSEMBLY & INSTALLATIONWhen installed, nailing flanges provide the minimum 1/4” (6 mm) clearance from fireplace sides.1. Remove (4) nailing flanges from fireplace sides.PREPARE THE FIREPLACE2. With the 1/4” (6 mm) stand-offs on nailing flanges facing away from fireplace, align nailing flange with holes on outside corners offireplace. Secure with screws (provided with components packet) through slots in nailing flanges.3. Bend perforation on nailing flange until parallel with fireplace face. Do not bend toward fireplace face.4. Position framing stud against 1/4” (6 mm) stand-off located on backside of nailing flange and secure with nails or screws.NOTE: Depending on facing material, nailing flanges can be adjusted forward or backwards up to 1/2” (13 mm).CAUTION: Never permanently remove these assemblies from fireplace. They must be secured in place regardless of finish material used.1/4” (6mm)CLEARANCESTAND-OFFNAILING FLANGESINSTALLEDNAILING FLANGE1/4” (6mm)CLEARANCEFRAMING STUDAS SHIPPEDFRONT VIEWFRAMING STUDNAILING FLANGETOP VIEWFigure 8aTOP STAND-OFF ADJUSTMENTThe top stand-off is adjustable to accommodate finish material thickness (non-combustible material <strong>only</strong>).TO ADJUST: Loosen screws at fireplace top, slide top stand-off to desired position, retighten screws.TOP STAND-OFF ADJUSTMENT SLOTSFigure 8b8