CHALLENGER'S LOST LESSONS - ER - NASA
CHALLENGER'S LOST LESSONS - ER - NASA
CHALLENGER'S LOST LESSONS - ER - NASA

You also want an ePaper? Increase the reach of your titles
YUMPU automatically turns print PDFs into web optimized ePapers that Google loves.
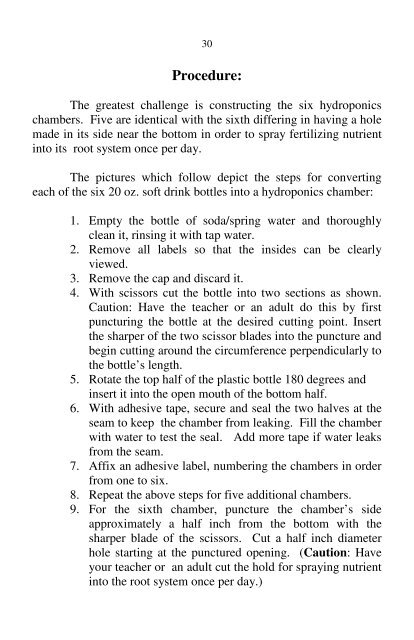
30Procedure:The greatest challenge is constructing the six hydroponicschambers. Five are identical with the sixth differing in having a holemade in its side near the bottom in order to spray fertilizing nutrientinto its root system once per day.The pictures which follow depict the steps for convertingeach of the six 20 oz. soft drink bottles into a hydroponics chamber:1. Empty the bottle of soda/spring water and thoroughlyclean it, rinsing it with tap water.2. Remove all labels so that the insides can be clearlyviewed.3. Remove the cap and discard it.4. With scissors cut the bottle into two sections as shown.Caution: Have the teacher or an adult do this by firstpuncturing the bottle at the desired cutting point. Insertthe sharper of the two scissor blades into the puncture andbegin cutting around the circumference perpendicularly tothe bottle’s length.5. Rotate the top half of the plastic bottle 180 degrees andinsert it into the open mouth of the bottom half.6. With adhesive tape, secure and seal the two halves at theseam to keep the chamber from leaking. Fill the chamberwith water to test the seal. Add more tape if water leaksfrom the seam.7. Affix an adhesive label, numbering the chambers in orderfrom one to six.8. Repeat the above steps for five additional chambers.9. For the sixth chamber, puncture the chamber’s sideapproximately a half inch from the bottom with thesharper blade of the scissors. Cut a half inch diameterhole starting at the punctured opening. (Caution: Haveyour teacher or an adult cut the hold for spraying nutrientinto the root system once per day.)