7. operating the flexipress - Grass
7. operating the flexipress - Grass
7. operating the flexipress - Grass

You also want an ePaper? Increase the reach of your titles
YUMPU automatically turns print PDFs into web optimized ePapers that Google loves.
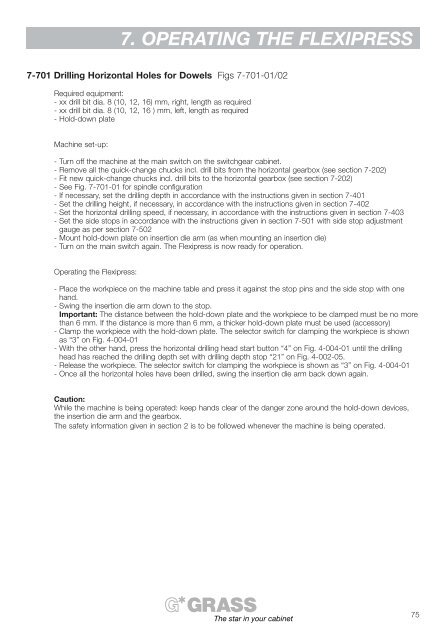
7-701 Drilling Horizontal Holes for Dowels Figs 7-701-01/02<br />
Required equipment:<br />
- xx drill bit dia. 8 (10, 12, 16) mm, right, length as required<br />
- xx drill bit dia. 8 (10, 12, 16 ) mm, left, length as required<br />
- Hold-down plate<br />
Machine set-up:<br />
- Turn off <strong>the</strong> machine at <strong>the</strong> main switch on <strong>the</strong> switchgear cabinet.<br />
- Remove all <strong>the</strong> quick-change chucks incl. drill bits from <strong>the</strong> horizontal gearbox (see section 7-202)<br />
- Fit new quick-change chucks incl. drill bits to <strong>the</strong> horizontal gearbox (see section 7-202)<br />
- See Fig. 7-701-01 for spindle configuration<br />
- If necessary, set <strong>the</strong> drilling depth in accordance with <strong>the</strong> instructions given in section 7-401<br />
- Set <strong>the</strong> drilling height, if necessary, in accordance with <strong>the</strong> instructions given in section 7-402<br />
- Set <strong>the</strong> horizontal drilling speed, if necessary, in accordance with <strong>the</strong> instructions given in section 7-403<br />
- Set <strong>the</strong> side stops in accordance with <strong>the</strong> instructions given in section 7-501 with side stop adjustment<br />
gauge as per section 7-502<br />
- Mount hold-down plate on insertion die arm (as when mounting an insertion die)<br />
- Turn on <strong>the</strong> main switch again. The Flexipress is now ready for operation.<br />
Operating <strong>the</strong> Flexipress:<br />
<strong>7.</strong> OPERATING THE FLEXIPRESS<br />
- Place <strong>the</strong> workpiece on <strong>the</strong> machine table and press it against <strong>the</strong> stop pins and <strong>the</strong> side stop with one<br />
hand.<br />
- Swing <strong>the</strong> insertion die arm down to <strong>the</strong> stop.<br />
Important: The distance between <strong>the</strong> hold-down plate and <strong>the</strong> workpiece to be clamped must be no more<br />
than 6 mm. If <strong>the</strong> distance is more than 6 mm, a thicker hold-down plate must be used (accessory)<br />
- Clamp <strong>the</strong> workpiece with <strong>the</strong> hold-down plate. The selector switch for clamping <strong>the</strong> workpiece is shown<br />
as “3” on Fig. 4-004-01<br />
- With <strong>the</strong> o<strong>the</strong>r hand, press <strong>the</strong> horizontal drilling head start button “4” on Fig. 4-004-01 until <strong>the</strong> drilling<br />
head has reached <strong>the</strong> drilling depth set with drilling depth stop “21” on Fig. 4-002-05.<br />
- Release <strong>the</strong> workpiece. The selector switch for clamping <strong>the</strong> workpiece is shown as “3” on Fig. 4-004-01<br />
- Once all <strong>the</strong> horizontal holes have been drilled, swing <strong>the</strong> insertion die arm back down again.<br />
Caution:<br />
While <strong>the</strong> machine is being operated: keep hands clear of <strong>the</strong> danger zone around <strong>the</strong> hold-down devices,<br />
<strong>the</strong> insertion die arm and <strong>the</strong> gearbox.<br />
The safety information given in section 2 is to be followed whenever <strong>the</strong> machine is being operated.<br />
The star in your cabinet<br />
75