eQUEST Training Module 1
eQUEST Training Module 1 - Integrated Design Lab - Bozeman
eQUEST Training Module 1 - Integrated Design Lab - Bozeman
- No tags were found...
Create successful ePaper yourself
Turn your PDF publications into a flip-book with our unique Google optimized e-Paper software.
Main <strong>eQUEST</strong> Window Navigation<br />
<strong>eQUEST</strong> <strong>Module</strong> 1<br />
NAVIGATING THE MAIN <strong>eQUEST</strong> WINDOW<br />
MODULE TEXT<br />
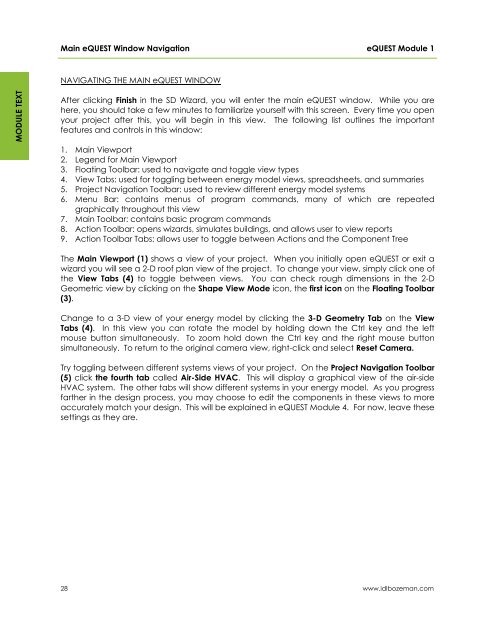
After clicking Finish in the SD Wizard, you will enter the main <strong>eQUEST</strong> window. While you are<br />
here, you should take a few minutes to familiarize yourself with this screen. Every time you open<br />
your project after this, you will begin in this view. The following list outlines the important<br />
features and controls in this window:<br />
1. Main Viewport<br />
2. Legend for Main Viewport<br />
3. Floating Toolbar: used to navigate and toggle view types<br />
4. View Tabs: used for toggling between energy model views, spreadsheets, and summaries<br />
5. Project Navigation Toolbar: used to review different energy model systems<br />
6. Menu Bar: contains menus of program commands, many of which are repeated<br />
graphically throughout this view<br />
7. Main Toolbar: contains basic program commands<br />
8. Action Toolbar: opens wizards, simulates buildings, and allows user to view reports<br />
9. Action Toolbar Tabs: allows user to toggle between Actions and the Component Tree<br />
The Main Viewport (1) shows a view of your project. When you initially open <strong>eQUEST</strong> or exit a<br />
wizard you will see a 2-D roof plan view of the project. To change your view, simply click one of<br />
the View Tabs (4) to toggle between views. You can check rough dimensions in the 2-D<br />
Geometric view by clicking on the Shape View Mode icon, the first icon on the Floating Toolbar<br />
(3).<br />
Change to a 3-D view of your energy model by clicking the 3-D Geometry Tab on the View<br />
Tabs (4). In this view you can rotate the model by holding down the Ctrl key and the left<br />
mouse button simultaneously. To zoom hold down the Ctrl key and the right mouse button<br />
simultaneously. To return to the original camera view, right-click and select Reset Camera.<br />
Try toggling between different systems views of your project. On the Project Navigation Toolbar<br />
(5) click the fourth tab called Air-Side HVAC. This will display a graphical view of the air-side<br />
HVAC system. The other tabs will show different systems in your energy model. As you progress<br />
farther in the design process, you may choose to edit the components in these views to more<br />
accurately match your design. This will be explained in <strong>eQUEST</strong> <strong>Module</strong> 4. For now, leave these<br />
settings as they are.<br />
28<br />
www.idlbozeman.com


