


Create successful ePaper yourself
Turn your PDF publications into a flip-book with our unique Google optimized e-Paper software.
<strong>QGIS</strong> <strong>for</strong> <strong>Archaeologists</strong> <strong>–</strong> A <strong>Basic</strong> <strong>Guide</strong><br />
11.3. 28BAdd a Legend / Key<br />
Now let’s add a Legend to our map, showing the meaning of the different objects and layers.<br />
The ADD LEGEND TOOL is on the left hand side of the screen above the add scale tool.<br />
Click-drag the new legend into place (tip: if you hold down the shift key, while clicking and dragging,<br />
any object you’re adding to the canvas will stay as a regular square).<br />
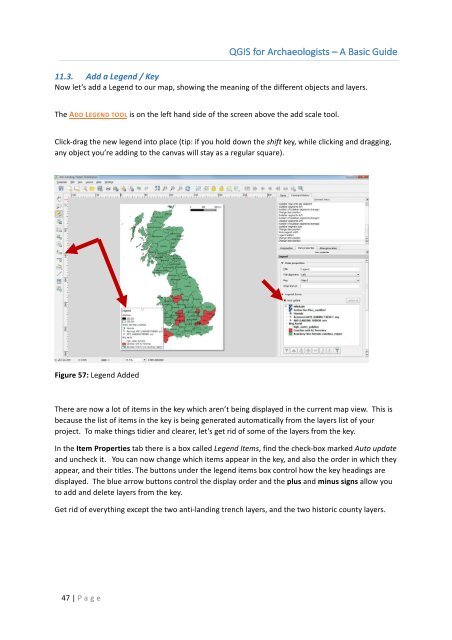
Figure 57: Legend Added<br />
There are now a lot of items in the key which aren’t being displayed in the current map view. This is<br />
because the list of items in the key is being generated automatically from the layers list of your<br />
project. To make things tidier and clearer, let’s get rid of some of the layers from the key.<br />
In the Item Properties tab there is a box called Legend Items, find the check-box marked Auto update<br />
and uncheck it. You can now change which items appear in the key, and also the order in which they<br />
appear, and their titles. The buttons under the legend items box control how the key headings are<br />
displayed. The blue arrow buttons control the display order and the plus and minus signs allow you<br />
to add and delete layers from the key.<br />
Get rid of everything except the two anti-landing trench layers, and the two historic county layers.<br />
47 | P age