Compiled Embroidery Skill Articles

You also want an ePaper? Increase the reach of your titles
YUMPU automatically turns print PDFs into web optimized ePapers that Google loves.
10/28/2016 Getting Started Part 1 Tips For Successful <strong>Embroidery</strong> <strong>Embroidery</strong> Article<br />
The <strong>Embroidery</strong><br />
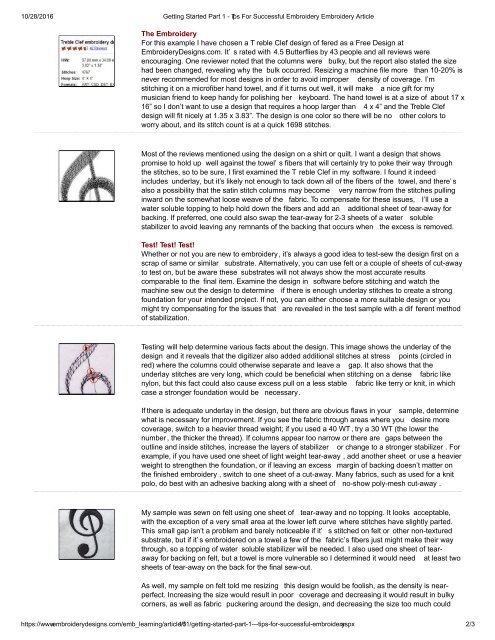
For this example I have chosen a T reble Clef design of fered as a Free Design at<br />
<strong>Embroidery</strong>Designs.com. It’ s rated with 4.5 Butterflies by 43 people and all reviews were<br />
encouraging. One reviewer noted that the columns were bulky, but the report also stated the size<br />
had been changed, revealing why the bulk occurred. Resizing a machine file more than 1020% is<br />
never recommended for most designs in order to avoid improper density of coverage. I’m<br />
stitching it on a microfiber hand towel, and if it turns out well, it will make a nice gift for my<br />
musician friend to keep handy for polishing her keyboard. The hand towel is at a size of about 17 x<br />
16” so I don’t want to use a design that requires a hoop larger than 4 x 4” and the Treble Clef<br />
design will fit nicely at 1.35 x 3.83”. The design is one color so there will be no other colors to<br />
worry about, and its stitch count is at a quick 1698 stitches.<br />
Most of the reviews mentioned using the design on a shirt or quilt. I want a design that shows<br />
promise to hold up well against the towel’ s fibers that will certainly try to poke their way through<br />
the stitches, so to be sure, I first examined the T reble Clef in my software. I found it indeed<br />
includes underlay, but it’s likely not enough to tack down all of the fibers of the towel, and there’ s<br />
also a possibility that the satin stitch columns may become very narrow from the stitches pulling<br />
inward on the somewhat loose weave of the fabric. To compensate for these issues, I’ll use a<br />
water soluble topping to help hold down the fibers and add an additional sheet of tearaway for<br />
backing. If preferred, one could also swap the tearaway for 23 sheets of a water soluble<br />
stabilizer to avoid leaving any remnants of the backing that occurs when the excess is removed.<br />
Test! Test! Test!<br />
Whether or not you are new to embroidery, it’s always a good idea to testsew the design first on a<br />
scrap of same or similar substrate. Alternatively, you can use felt or a couple of sheets of cutaway<br />
to test on, but be aware these substrates will not always show the most accurate results<br />
comparable to the final item. Examine the design in software before stitching and watch the<br />
machine sew out the design to determine if there is enough underlay stitches to create a strong<br />
foundation for your intended project. If not, you can either choose a more suitable design or you<br />
might try compensating for the issues that are revealed in the test sample with a dif ferent method<br />
of stabilization.<br />
Testing will help determine various facts about the design. This image shows the underlay of the<br />
design and it reveals that the digitizer also added additional stitches at stress points (circled in<br />
red) where the columns could otherwise separate and leave a gap. It also shows that the<br />
underlay stitches are very long, which could be beneficial when stitching on a dense fabric like<br />
nylon, but this fact could also cause excess pull on a less stable fabric like terry or knit, in which<br />
case a stronger foundation would be necessary.<br />
If there is adequate underlay in the design, but there are obvious flaws in your sample, determine<br />
what is necessary for improvement. If you see the fabric through areas where you desire more<br />
coverage, switch to a heavier thread weight; if you used a 40 WT , try a 30 WT (the lower the<br />
number , the thicker the thread). If columns appear too narrow or there are gaps between the<br />
outline and inside stitches, increase the layers of stabilizer or change to a stronger stabilizer . For<br />
example, if you have used one sheet of light weight tearaway , add another sheet or use a heavier<br />
weight to strengthen the foundation, or if leaving an excess margin of backing doesn’t matter on<br />
the finished embroidery , switch to one sheet of a cutaway. Many fabrics, such as used for a knit<br />
polo, do best with an adhesive backing along with a sheet of noshow polymesh cutaway .<br />
My sample was sewn on felt using one sheet of tearaway and no topping. It looks acceptable,<br />
with the exception of a very small area at the lower left curve where stitches have slightly parted.<br />
This small gap isn’t a problem and barely noticeable if it’ s stitched on felt or other nontextured<br />
substrate, but if it’ s embroidered on a towel a few of the fabric’s fibers just might make their way<br />
through, so a topping of water soluble stabilizer will be needed. I also used one sheet of tearaway<br />
for backing on felt, but a towel is more vulnerable so I determined it would need at least two<br />
sheets of tearaway on the back for the final sewout.<br />
As well, my sample on felt told me resizing this design would be foolish, as the density is nearperfect.<br />
Increasing the size would result in poor coverage and decreasing it would result in bulky<br />
corners, as well as fabric puckering around the design, and decreasing the size too much could<br />
https://www.embroiderydesigns.com/emb_learning/article/1<br />
even cause<br />
161/gettingstartedpart1tipsforsuccessfulembroidery<br />
holes in the fabric from excessive needle penetrations.<br />
.aspx 2/3