


You also want an ePaper? Increase the reach of your titles
YUMPU automatically turns print PDFs into web optimized ePapers that Google loves.
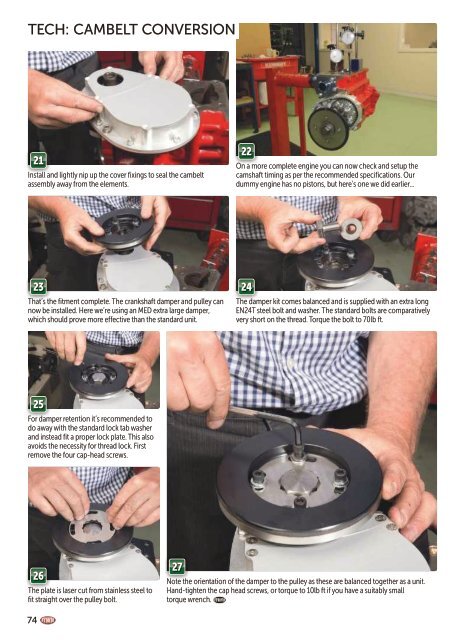
TECH: CAMBELT CONVERSION<br />
21<br />
Install and lightly nip up the cover fixings to seal the cambelt<br />
assembly away from the elements.<br />
22<br />
On a more complete engine you can now check and setup the<br />
camshaft timing as per the recommended specifications. Our<br />
dummy engine has no pistons, but here’s one we did earlier...<br />
23 24<br />
That’s the fitment complete. The crankshaft damper and pulley can<br />
now be installed. Here we’re using an MED extra large damper,<br />
which should prove more effective than the standard unit.<br />
The damper kit comes balanced and is supplied with an extra long<br />
EN24T steel bolt and washer. The standard bolts are comparatively<br />
very short on the thread. Torque the bolt to 70lb ft.<br />
25<br />
For damper retention it’s recommended to<br />
do away with the standard lock tab washer<br />
and instead fit a proper lock plate. This also<br />
avoids the necessity for thread lock. First<br />
remove the four cap-head screws.<br />
26<br />
The plate is laser cut from stainless steel to<br />
fit straight over the pulley bolt.<br />
27<br />
Note the orientation of the damper to the pulley as these are balanced together as a unit.<br />
Hand-tighten the cap head screws, or torque to 10lb ft if you have a suitably small<br />
torque wrench.<br />
74