


You also want an ePaper? Increase the reach of your titles
YUMPU automatically turns print PDFs into web optimized ePapers that Google loves.
Tech<br />
ASK THE<br />
EXPERT<br />
POSITIVE CAMBER<br />
I’ve got a 1987 Park<br />
Lane that’s got really<br />
low mileage, but appears to<br />
have a bit of positive camber<br />
on the rear offside. I’m<br />
considering fitting<br />
adjustable brackets, but was<br />
wondering if there is any way<br />
I can modify the standard<br />
bracket to fix the problem? If<br />
so, can you explain how I<br />
would go about this? I’ve<br />
also just bought some new<br />
adjustable tie-rods for the<br />
front. Can you tell me what<br />
the factory length is and<br />
where the measurements are<br />
taken from?<br />
Roland<br />
This is a common issue<br />
on a <strong>Mini</strong>. To reduce the<br />
positive camber, the outer<br />
end of the radius arm pin<br />
needs moving upwards in its<br />
bracket. The way to do that is<br />
to simply remove the outer<br />
bracket from the right-hand<br />
rear radius arm, file the radius<br />
arm pin hole upwards, then<br />
re-fit the bracket, and before<br />
tightening the radius arm pin<br />
to bracket nut up, use a trolley<br />
jack to push the pin hard up<br />
against the top of the new<br />
slot. Then do the nut up. As<br />
the weight of the car is<br />
pushing down on that bracket,<br />
it is unlikely the pin will slide<br />
down the slotted hole. A little<br />
filing and refitting will be<br />
needed to establish the exact<br />
amount it will need moving to<br />
get the desired camber setting.<br />
The standard tie-rods<br />
measure 14-5/16-inches when<br />
measured from the centre of<br />
the bolt hole that clamps it to<br />
the bottom arm to the front<br />
face of the large flat washer<br />
that the inner tie-rod bush fits<br />
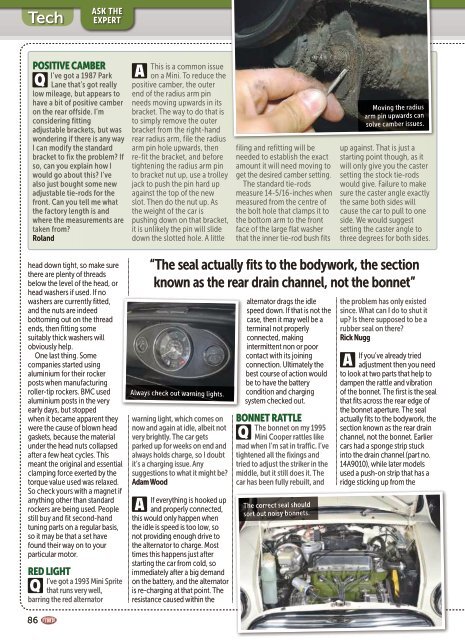
Moving the radius<br />
arm pin upwards can<br />
solve camber issues.<br />
up against. That is just a<br />
starting point though, as it<br />
will only give you the caster<br />
setting the stock tie-rods<br />
would give. Failure to make<br />
sure the caster angle exactly<br />
the same both sides will<br />
cause the car to pull to one<br />
side. We would suggest<br />
setting the caster angle to<br />
three degrees for both sides.<br />
head down tight, so make sure<br />
there are plenty of threads<br />
below the level of the head, or<br />
head washers if used. If no<br />
washers are currently fitted,<br />
and the nuts are indeed<br />
bottoming out on the thread<br />
ends, then fitting some<br />
suitably thick washers will<br />
obviously help.<br />
One last thing. Some<br />
companies started using<br />
aluminium for their rocker<br />
posts when manufacturing<br />
roller-tip rockers. BMC used<br />
aluminium posts in the very<br />
early days, but stopped<br />
when it became apparent they<br />
were the cause of blown head<br />
gaskets, because the material<br />
under the head nuts collapsed<br />
after a few heat cycles. This<br />
meant the original and essential<br />
clamping force exerted by the<br />
torque value used was relaxed.<br />
So check yours with a magnet if<br />
anything other than standard<br />
rockers are being used. People<br />
still buy and fit second-hand<br />
tuning parts on a regular basis,<br />
so it may be that a set have<br />
found their way on to your<br />
particular motor.<br />
RED LIGHT<br />
I’ve got a 1993 <strong>Mini</strong> Sprite<br />
that runs very well,<br />
barring the red alternator<br />
“The seal actually fits to the bodywork, the section<br />
known as the rear drain channel, not the bonnet”<br />
Always check out warning lights.<br />
warning light, which comes on<br />
now and again at idle, albeit not<br />
very brightly. The car gets<br />
parked up for weeks on end and<br />
always holds charge, so I doubt<br />
it’s a charging issue. Any<br />
suggestions to what it might be?<br />
Adam Wood<br />
If everything is hooked up<br />
and properly connected,<br />
this would only happen when<br />
the idle is speed is too low, so<br />
not providing enough drive to<br />
the alternator to charge. Most<br />
times this happens just after<br />
starting the car from cold, so<br />
immediately after a big demand<br />
on the battery, and the alternator<br />
is re-charging at that point. The<br />
resistance caused within the<br />
alternator drags the idle<br />
speed down. If that is not the<br />
case, then it may well be a<br />
terminal not properly<br />
connected, making<br />
intermittent non or poor<br />
contact with its joining<br />
connection. Ultimately the<br />
best course of action would<br />
be to have the battery<br />
condition and charging<br />
system checked out.<br />
BONNET RATTLE<br />
The bonnet on my 1995<br />
<strong>Mini</strong> Cooper rattles like<br />
mad when I’m sat in traffic. I’ve<br />
tightened all the fixings and<br />
tried to adjust the striker in the<br />
middle, but it still does it. The<br />
car has been fully rebuilt, and<br />
The correct seal should<br />
sort out noisy bonnets.<br />
the problem has only existed<br />
since. What can I do to shut it<br />
up? Is there supposed to be a<br />
rubber seal on there?<br />
Rick Nugg<br />
If you’ve already tried<br />
adjustment then you need<br />
to look at two parts that help to<br />
dampen the rattle and vibration<br />
of the bonnet. The first is the seal<br />
that fits across the rear edge of<br />
the bonnet aperture. The seal<br />
actually fits to the bodywork, the<br />
section known as the rear drain<br />
channel, not the bonnet. Earlier<br />
cars had a sponge strip stuck<br />
into the drain channel (part no.<br />
14A9010), while later models<br />
used a push-on strip that has a<br />
ridge sticking up from the<br />
86