Calgary 2019 Spring -Summer

Create successful ePaper yourself
Turn your PDF publications into a flip-book with our unique Google optimized e-Paper software.
Above Ground Pools<br />
Essential Care Tips<br />
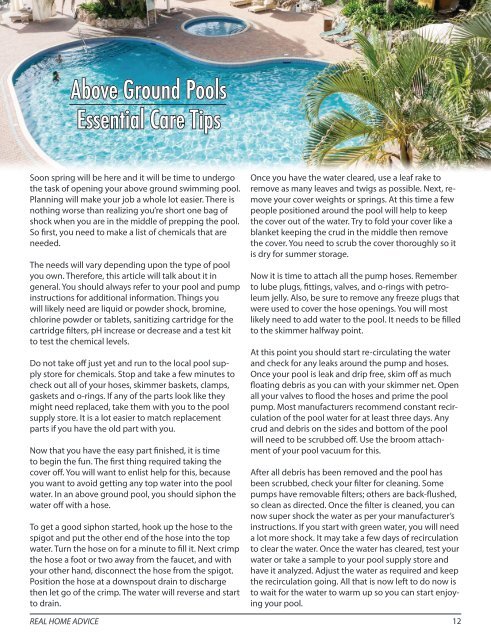
Soon spring will be here and it will be time to undergo<br />
the task of opening your above ground swimming pool.<br />
Planning will make your job a whole lot easier. There is<br />
nothing worse than realizing you’re short one bag of<br />
shock when you are in the middle of prepping the pool.<br />
So first, you need to make a list of chemicals that are<br />
needed.<br />
The needs will vary depending upon the type of pool<br />
you own. Therefore, this article will talk about it in<br />
general. You should always refer to your pool and pump<br />
instructions for additional information. Things you<br />
will likely need are liquid or powder shock, bromine,<br />
chlorine powder or tablets, sanitizing cartridge for the<br />
cartridge filters, pH increase or decrease and a test kit<br />
to test the chemical levels.<br />
Do not take off just yet and run to the local pool supply<br />
store for chemicals. Stop and take a few minutes to<br />
check out all of your hoses, skimmer baskets, clamps,<br />
gaskets and o-rings. If any of the parts look like they<br />
might need replaced, take them with you to the pool<br />
supply store. It is a lot easier to match replacement<br />
parts if you have the old part with you.<br />
Now that you have the easy part finished, it is time<br />
to begin the fun. The first thing required taking the<br />
cover off. You will want to enlist help for this, because<br />
you want to avoid getting any top water into the pool<br />
water. In an above ground pool, you should siphon the<br />
water off with a hose.<br />
To get a good siphon started, hook up the hose to the<br />
spigot and put the other end of the hose into the top<br />
water. Turn the hose on for a minute to fill it. Next crimp<br />
the hose a foot or two away from the faucet, and with<br />
your other hand, disconnect the hose from the spigot.<br />
Position the hose at a downspout drain to discharge<br />
then let go of the crimp. The water will reverse and start<br />
to drain.<br />
Once you have the water cleared, use a leaf rake to<br />
remove as many leaves and twigs as possible. Next, remove<br />
your cover weights or springs. At this time a few<br />
people positioned around the pool will help to keep<br />
the cover out of the water. Try to fold your cover like a<br />
blanket keeping the crud in the middle then remove<br />
the cover. You need to scrub the cover thoroughly so it<br />
is dry for summer storage.<br />
Now it is time to attach all the pump hoses. Remember<br />
to lube plugs, fittings, valves, and o-rings with petroleum<br />
jelly. Also, be sure to remove any freeze plugs that<br />
were used to cover the hose openings. You will most<br />
likely need to add water to the pool. It needs to be filled<br />
to the skimmer halfway point.<br />
At this point you should start re-circulating the water<br />
and check for any leaks around the pump and hoses.<br />
Once your pool is leak and drip free, skim off as much<br />
floating debris as you can with your skimmer net. Open<br />
all your valves to flood the hoses and prime the pool<br />
pump. Most manufacturers recommend constant recirculation<br />
of the pool water for at least three days. Any<br />
crud and debris on the sides and bottom of the pool<br />
will need to be scrubbed off. Use the broom attachment<br />
of your pool vacuum for this.<br />
After all debris has been removed and the pool has<br />
been scrubbed, check your filter for cleaning. Some<br />
pumps have removable filters; others are back-flushed,<br />
so clean as directed. Once the filter is cleaned, you can<br />
now super shock the water as per your manufacturer’s<br />
instructions. If you start with green water, you will need<br />
a lot more shock. It may take a few days of recirculation<br />
to clear the water. Once the water has cleared, test your<br />
water or take a sample to your pool supply store and<br />
have it analyzed. Adjust the water as required and keep<br />
the recirculation going. All that is now left to do now is<br />
to wait for the water to warm up so you can start enjoying<br />
your pool.<br />
REAL HOME ADVICE 12