

MakerBot Educators Guidebook 3rd Edition

Create successful ePaper yourself
Turn your PDF publications into a flip-book with our unique Google optimized e-Paper software.
MAKERBOT EDUCATORS GUIDEBOOK Chapter 4: Curriculum Project Ideas<br />
PAGE 94<br />
03<br />
04<br />
05<br />
PRINTING AND TESTING OUT<br />
Before sending the gear models to be printed,<br />
consider how the gears will be printed. Sometimes<br />
what looks to fit together well within a modeling<br />
program does not translate as well in the physical<br />
world. Is there enough tolerance between all the<br />
gears? Is there a possibility that the gears will fuse<br />
together when printed?<br />
TIP:<br />
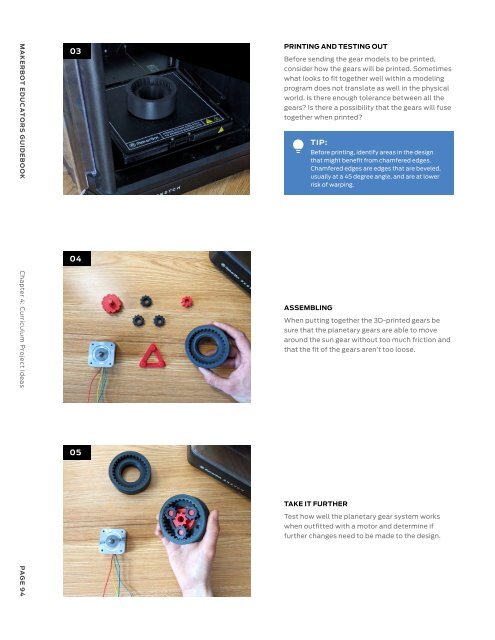
ASSEMBLING<br />
Before printing, identify areas in the design<br />
that might benefit from chamfered edges.<br />
Chamfered edges are edges that are beveled,<br />
usually at a 45 degree angle, and are at lower<br />
risk of warping.<br />
When putting together the 3D-printed gears be<br />
sure that the planetary gears are able to move<br />
around the sun gear without too much friction and<br />
that the fit of the gears aren’t too loose.<br />
TAKE IT FURTHER<br />
Test how well the planetary gear system works<br />
when outfitted with a motor and determine if<br />
further changes need to be made to the design.<br />
Project: Snap-Together Robohand<br />
Project Category<br />
Part of the Lesson<br />
Design Difficulty<br />
LEARNING OBJECTIVES<br />
• Understand the mechanisms behind a robohand<br />
• Recognize the role 3D printing is playing in bringing down the costs<br />
of 3D prosthetics<br />
• Discuss how the existing design could be improved and what<br />
changes would be needed<br />
MAKERBOT EDUCATORS GUIDEBOOK Chapter 4: Curriculum Project Ideas<br />
PAGE 95

