

MakerBot Educators Guidebook 3rd Edition

You also want an ePaper? Increase the reach of your titles
YUMPU automatically turns print PDFs into web optimized ePapers that Google loves.
MAKERBOT EDUCATORS GUIDEBOOK Chapter 4: Curriculum Project Ideas<br />
PAGE 96<br />
See how 3D printing can help people all around the world by printing and building a snap-together version of the<br />
Robohand and develop a better understanding of the mechanics behind the robohand and how the robohand itself<br />
can expand and contract using one’s wrist.<br />
01<br />
MATERIALS NEEDED:<br />
• Elastic String (approx. 1mm in diameter)<br />
• Nylon String (approx. 1mm or more in diameter)<br />
• 5 x Short Screws<br />
3D PRINTED COMPONENTS NEEDED:<br />
• 1 x RightKnuckleBlock.stl or 1 x LeftKnuckleBlock.stl<br />
• 1 x Set of WristStructure.stl (Made up of four 8-holebeams and 2 6-hole beams)<br />
• 1 x Set of Fingers.stl (Made up of 5 finger tips, 5 finger segments and 5 finger snap pins)<br />
• 1 x Set of *SnapPins.stl<br />
*There are four types of pins that print in the ‘Snap Pins.stl’ file. Two types of pins (long and short) are used to<br />
assemble the Knuckle Block. The remaining pins are divided into #2 and #3 pins. Generally, #2 pins are used<br />
when attaching two components and #3 pins are used when attaching three components.<br />
TIP:<br />
Parts in these plans are represented in two colors, blue and black. These colors correspond to the colors used in<br />
printed examples. In general, blue parts are movable or attachable parts, whereas black parts are static or structural.<br />
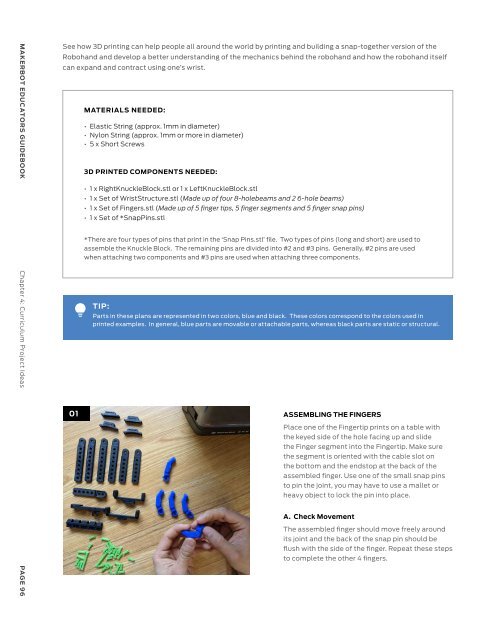
ASSEMBLING THE FINGERS<br />
Place one of the Fingertip prints on a table with<br />
the keyed side of the hole facing up and slide<br />
the Finger segment into the Fingertip. Make sure<br />
the segment is oriented with the cable slot on<br />
the bottom and the endstop at the back of the<br />
assembled finger. Use one of the small snap pins<br />
to pin the joint, you may have to use a mallet or<br />
heavy object to lock the pin into place.<br />
A. Check Movement<br />
The assembled finger should move freely around<br />
its joint and the back of the snap pin should be<br />
flush with the side of the finger. Repeat these steps<br />
to complete the other 4 fingers.<br />
02<br />
BUILDING THE HAND<br />
Lay out the three printed parts of either the RightKnuckleBlock.stl or 1 x LeftKnuckleBlock.stl on the table and attach<br />
the sides to the selected knuckle block using the two shorter pins (do not use the #2 or #3 snap pins) from the<br />
SnapPins.stl.<br />
A. Install the First Two Fingers<br />
B. Repeat on The Other Side<br />
Install the first two fingers into their slots (such that<br />
Flipping the knuckle block over, install the other two<br />
you’re installing the fingers that would be the furthest fingers into the other two slots and secure with the<br />
away from the thumb). Use a mallet or heavy object to second longer pin. Check the movement again and if<br />
tap one of the longer snap pins into the hole, securing there is a lot of resistance, move the fingers up and<br />
the fingers to the knuckle block.<br />
down again to loosen them up.<br />
C. Installing the Thumb<br />
Slide the thumb into place and use the last finger snap pins to secure the thumb to the hand. Move the thumb back<br />
and forth a few times until it loosens up if it does not move freely.<br />
03<br />
BUILDING THE WRIST<br />
Place a wrist beam (one of the 6-hole beams)<br />
on the inside of the hand assembly and line the<br />
holes on the beam print to the knuckle block.<br />
Then insert two #2 snap pins into the front two<br />
holes (closest to the fingers) on opposing sides to<br />
attach the wrist beam to the hand. Next, line up<br />
the other wrist beam to the other side of the hand<br />
and secure them in place two more #2 snap pins.<br />
MAKERBOT EDUCATORS GUIDEBOOK Chapter 4: Curriculum Project Ideas<br />
PAGE 97

