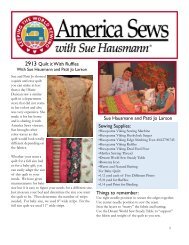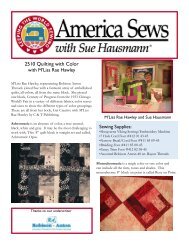
2411 Textures & Techniques with M'Liss Rae ... - Husqvarna Viking
2411 Textures & Techniques with M'Liss Rae ... - Husqvarna Viking
2411 Textures & Techniques with M'Liss Rae ... - Husqvarna Viking

Create successful ePaper yourself
Turn your PDF publications into a flip-book with our unique Google optimized e-Paper software.
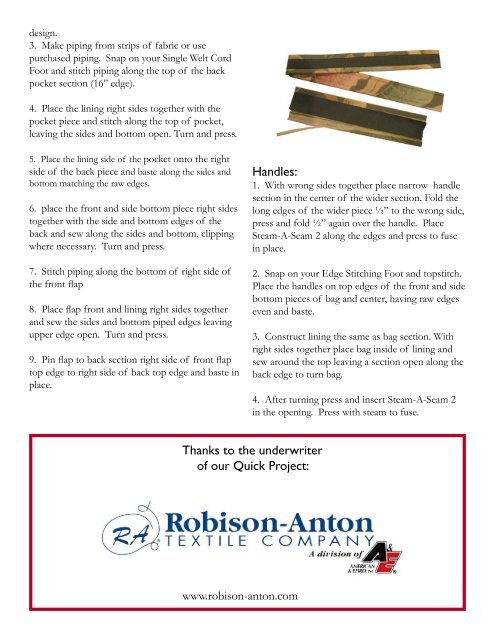
design.<br />
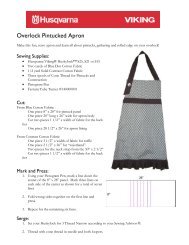
3. Make piping from strips of fabric or use<br />
purchased piping. Snap on your Single Welt Cord<br />
Foot and stitch piping along the top of the back<br />
pocket section (16” edge).<br />
4. Place the lining right sides together <strong>with</strong> the<br />
pocket piece and stitch along the top of pocket,<br />
leaving the sides and bottom open. Turn and press.<br />
5. Place the lining side of the pocket onto the right<br />
side of the back piece and baste along the sides and<br />
bottom matching the raw edges.<br />
6. place the front and side bottom piece right sides<br />
together <strong>with</strong> the side and bottom edges of the<br />
back and sew along the sides and bottom, clipping<br />
where necessary. Turn and press.<br />
7. Stitch piping along the bottom of right side of<br />
the front fl ap<br />
8. Place fl ap front and lining right sides together<br />
and sew the sides and bottom piped edges leaving<br />
upper edge open. Turn and press.<br />
9. Pin fl ap to back section right side of front fl ap<br />
top edge to right side of back top edge and baste in<br />
place.<br />
Handles:<br />
1. With wrong sides together place narrow handle<br />
section in the center of the wider section. Fold the<br />
long edges of the wider piece ½” to the wrong side,<br />
press and fold ½” again over the handle. Place<br />
Steam-A-Seam 2 along the edges and press to fuse<br />
in place.<br />
2. Snap on your Edge Stitching Foot and topstitch.<br />
Place the handles on top edges of the front and side<br />
bottom pieces of bag and center, having raw edges<br />
even and baste.<br />
3. Construct lining the same as bag section. With<br />
right sides together place bag inside of lining and<br />
sew around the top leaving a section open along the<br />
back edge to turn bag.<br />
4. After turning press and insert Steam-A-Seam 2<br />
in the opening. Press <strong>with</strong> steam to fuse.<br />
Thanks to the underwriter<br />
of our Quick Project:<br />
www.robison-anton.com
![[pdf] husqvarna viking sewing machine stitch comparison chart](https://img.yumpu.com/11869478/1/190x146/pdf-husqvarna-viking-sewing-machine-stitch-comparison-chart.jpg?quality=85)