

Sony HDR-PJ760E - HDR-PJ760E Consignes d’utilisation Anglais
Sony HDR-PJ760E - HDR-PJ760E Consignes d’utilisation Anglais
Sony HDR-PJ760E - HDR-PJ760E Consignes d’utilisation Anglais

You also want an ePaper? Increase the reach of your titles
YUMPU automatically turns print PDFs into web optimized ePapers that Google loves.
Others/Index<br />
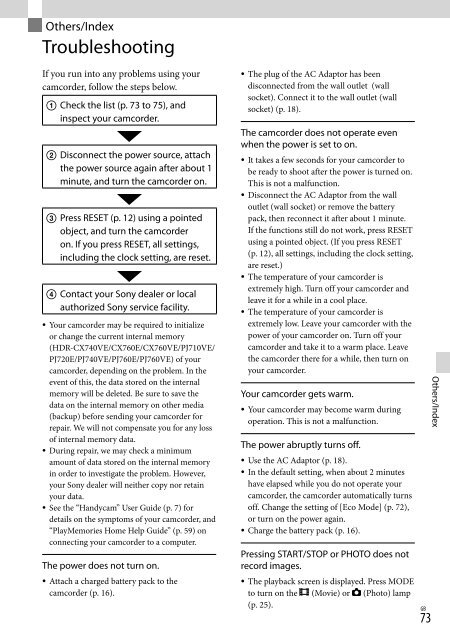
Troubleshooting<br />
If you run into any problems using your<br />
camcorder, follow the steps below.<br />
<br />
<br />
<br />
Check the list (p. 73 to 75), and<br />
inspect your camcorder.<br />
Disconnect the power source, attach<br />
the power source again after about 1<br />
minute, and turn the camcorder on.<br />
Press RESET (p. 12) using a pointed<br />
object, and turn the camcorder<br />
on. If you press RESET, all settings,<br />
including the clock setting, are reset.<br />
Contact your <strong>Sony</strong> dealer or local<br />
authorized <strong>Sony</strong> service facility.<br />
Your camcorder may be required to initialize<br />
or change the current internal memory<br />
(<strong>HDR</strong>-CX740VE/CX760E/CX760VE/PJ710VE/<br />
PJ720E/PJ740VE/<strong>PJ760E</strong>/PJ760VE) of your<br />
camcorder, depending on the problem. In the<br />
event of this, the data stored on the internal<br />
memory will be deleted. Be sure to save the<br />
data on the internal memory on other media<br />
(backup) before sending your camcorder for<br />
repair. We will not compensate you for any loss<br />
of internal memory data.<br />
During repair, we may check a minimum<br />
amount of data stored on the internal memory<br />
in order to investigate the problem. However,<br />
your <strong>Sony</strong> dealer will neither copy nor retain<br />
your data.<br />
See the “Handycam” User Guide (p. 7) for<br />
details on the symptoms of your camcorder, and<br />
“PlayMemories Home Help Guide” (p. 59) on<br />
connecting your camcorder to a computer.<br />
The power does not turn on.<br />
Attach a charged battery pack to the<br />
camcorder (p. 16).<br />
<br />
The plug of the AC Adaptor has been<br />
disconnected from the wall outlet (wall<br />
socket). Connect it to the wall outlet (wall<br />
socket) (p. 18).<br />
The camcorder does not operate even<br />
when the power is set to on.<br />
It takes a few seconds for your camcorder to<br />
be ready to shoot after the power is turned on.<br />
This is not a malfunction.<br />
Disconnect the AC Adaptor from the wall<br />
outlet (wall socket) or remove the battery<br />
pack, then reconnect it after about 1 minute.<br />
If the functions still do not work, press RESET<br />
using a pointed object. (If you press RESET<br />
(p. 12), all settings, including the clock setting,<br />
are reset.)<br />
The temperature of your camcorder is<br />
extremely high. Turn off your camcorder and<br />
leave it for a while in a cool place.<br />
The temperature of your camcorder is<br />
extremely low. Leave your camcorder with the<br />
power of your camcorder on. Turn off your<br />
camcorder and take it to a warm place. Leave<br />
the camcorder there for a while, then turn on<br />
your camcorder.<br />
Your camcorder gets warm.<br />
Your camcorder may become warm during<br />
operation. This is not a malfunction.<br />
The power abruptly turns off.<br />
Use the AC Adaptor (p. 18).<br />
In the default setting, when about 2 minutes<br />
have elapsed while you do not operate your<br />
camcorder, the camcorder automatically turns<br />
off. Change the setting of [Eco Mode] (p. 72),<br />
or turn on the power again.<br />
Charge the battery pack (p. 16).<br />
Pressing START/STOP or PHOTO does not<br />
record images.<br />
The playback screen is displayed. Press MODE<br />
to turn on the (Movie) or (Photo) lamp<br />
(p. 25).<br />
73<br />
GB<br />
Others/Index


