IKA® A 11 basic - Memphys
IKA® A 11 basic - Memphys
IKA® A 11 basic - Memphys
Create successful ePaper yourself
Turn your PDF publications into a flip-book with our unique Google optimized e-Paper software.
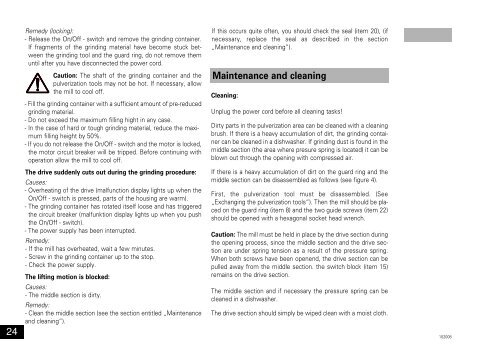
Remedy (locking):<br />
- Release the On/Off - switch and remove the grinding container.<br />
If fragments of the grinding material have become stuck between<br />
the grinding tool and the guard ring, do not remove them<br />
until after you have disconnected the power cord.<br />
Caution: The shaft of the grinding container and the<br />
pulverization tools may not be hot. If necessary, allow<br />
the mill to cool off.<br />
- Fill the grinding container with a sufficient amount of pre-reduced<br />
grinding material.<br />
- Do not exceed the maximum filling hight in any case.<br />
- In the case of hard or tough grinding material, reduce the maximum<br />
filling height by 50%.<br />
- If you do not release the On/Off - switch and the motor is locked,<br />
the motor circuit breaker will be tripped. Before continuing with<br />
operation allow the mill to cool off.<br />
The drive suddenly cuts out during the grinding procedure:<br />
Causes:<br />
- Overheating of the drive (malfunction display lights up when the<br />
On/Off - switch is pressed, parts of the housing are warm).<br />
- The grinding container has rotated itself loose and has triggered<br />
the circuit breaker (malfunktion display lights up when you push<br />
the On/Off - switch).<br />
- The power supply has been interrupted.<br />
Remedy:<br />
- If the mill has overheated, wait a few minutes.<br />
- Screw in the grinding container up to the stop.<br />
- Check the power supply.<br />
The lifting motion is blocked:<br />
Causes:<br />
- The middle section is dirty.<br />
Remedy:<br />
- Clean the middle section (see the section entitled „Maintenance<br />
and cleaning“).<br />
If this occurs quite often, you should check the seal (item 20), (if<br />
necessary, replace the seal as described in the section<br />
„Maintenance and cleaning“).<br />
Maintenance and cleaning<br />
Cleaning:<br />
Unplug the power cord before all cleaning tasks!<br />
Dirty parts in the pulverization area can be cleaned with a cleaning<br />
brush. If there is a heavy accumulation of dirt, the grinding container<br />
can be cleaned in a dishwasher. If grinding dust is found in the<br />
middle section (the area where presure spring is located) it can be<br />
blown out through the opening with compressed air.<br />
If there is a heavy accumulation of dirt on the guard ring and the<br />
middle section can be disassembled as follows (see figure 4).<br />
First, the pulverization tool must be disassembled. (See<br />
„Exchanging the pulverization tools“). Then the mill should be placed<br />
on the guard ring (item 8) and the two guide screws (item 22)<br />
should be opened with a hexagonal socket head wrench.<br />
Caution: The mill must be held in place by the drive section during<br />
the opening process, since the middle section and the drive section<br />
are under spring tension as a result of the pressure spring.<br />
When both screws have been openend, the drive section can be<br />
pulled away from the middle section. the switch block (item 15)<br />
remains on the drive section.<br />
The middle section and if necessary the pressure spring can be<br />
cleaned in a dishwasher.<br />
The drive section should simply be wiped clean with a moist cloth.<br />
24 102008


