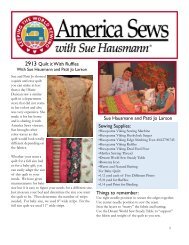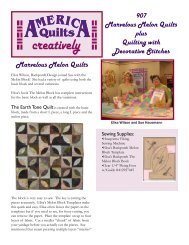
2609 Quilting Made Easy with Kothy Hafersat ... - Husqvarna Viking
2609 Quilting Made Easy with Kothy Hafersat ... - Husqvarna Viking
2609 Quilting Made Easy with Kothy Hafersat ... - Husqvarna Viking

You also want an ePaper? Increase the reach of your titles
YUMPU automatically turns print PDFs into web optimized ePapers that Google loves.
Let’s Sew:<br />
1. On the <strong>Husqvarna</strong> <strong>Viking</strong> Designer SE and<br />
Designer SE Limited Edition, select stitch E1:<br />
14, a serpentine stitch. If your sewing machine<br />
does not have a serpentine stitch, select a<br />
straight stitch.<br />
2. To make sure that whatever stitch you select<br />
can be safely done <strong>with</strong> the twin needle on your<br />
sewing machine, use the hand wheel to move the<br />
needle threough the stitch.<br />
3. Beginning at the plain selvage edge, line the arm<br />
of the quilt guide up <strong>with</strong> the cut edge of the<br />
fabric. Reduce machine speed slightly. Begin<br />
sewing, using the quilt guide along the cut edge<br />
to assure a straight line. If available, use the<br />
Start/Stop button instead of the foot control.<br />
4. When you reach the edge of the printed border<br />
at the end, select FIX to tie off. Use the Selective<br />
Thread cutter to cut threads. It pulls the thread<br />
ends to the under side of the fabric!<br />
5. To start the next row of stitching, go back to<br />
the plain selvage edge. Place the arm of the quilt<br />
guide along the fi rst row of stitching.<br />
6. Select “Stitch Restart” on the Designer SE<br />
Limited Edition or Sapphire 870 Quilt. The<br />
stitch pattern will reset to start in exactly the<br />
same place as the fi rst row of stitches.<br />
7. Sew a second row of stitching, using the fi rst<br />
row of stitching as your guide. Stop sewing at<br />
the decorative border and select FIX to tie off<br />
and use the Selective Thread cutter.<br />
8. Continue to sew parallel rows across the width<br />
of the scarf. The fabric will pucker slightly,<br />
adding texture and interest to the scarf.<br />
Rolled Edge:<br />
1. Once you fi nish all the rows of stitching, set the<br />
serger for a narrow three-thread rolled edge. Put<br />
Robison Anton Serger thread in the lower looper<br />
and needle, and use Robison Anton metallic<br />
thread in the upper looper.<br />
2. Serge a narrow rolled edge around all four<br />
edges of the scarf. Use seam sealant on all four<br />
corners.<br />
Wear it for fun and make more for your friends! It is<br />
sure to get compliments!<br />
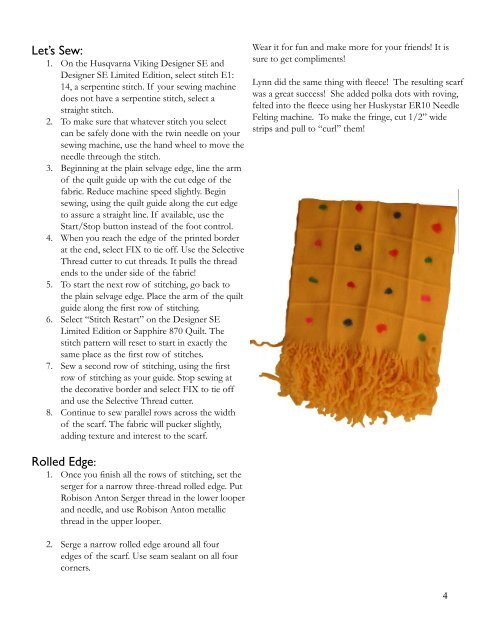
Lynn did the same thing <strong>with</strong> fl eece! The resulting scarf<br />
was a great success! She added polka dots <strong>with</strong> roving,<br />
felted into the fl eece using her Huskystar ER10 Needle<br />
Felting machine. To make the fringe, cut 1/2” wide<br />
strips and pull to “curl” them!<br />
4
![[pdf] husqvarna viking sewing machine stitch comparison chart](https://img.yumpu.com/11869478/1/190x146/pdf-husqvarna-viking-sewing-machine-stitch-comparison-chart.jpg?quality=85)