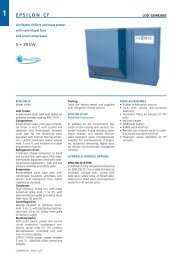
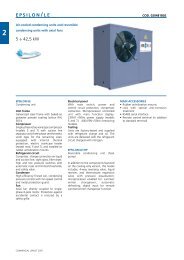
EPSILON-CF IOM.pdf - Industrial Air
EPSILON-CF IOM.pdf - Industrial Air
EPSILON-CF IOM.pdf - Industrial Air

Create successful ePaper yourself
Turn your PDF publications into a flip-book with our unique Google optimized e-Paper software.
6.18 ELECTRICAL CONNECTIONS<br />
6.18.1 Introduction<br />
– Electrical connections must be made in accordance with the information given on the electrical drawing<br />
attached to the unit and in compliance with the applicable local regulations.<br />
– An Earth (ground) connection is compulsory. The installer must connect the earth cable with a dedicated terminal<br />
on the earth bar in the electrical board (refer to the illustration on the following page) labelled PE.<br />
– It must be verified that the electrical supply corresponds to the unit electrical nominal data (tension, phases,<br />
frequency) indicated on the label on the front panel of the unit.<br />
– Line voltage fluctuations must not be more than ±5% of the nominal value, while the voltage unbalance<br />
between one phase and another must not exceed 2%. If these tolerances are not possible contact Blue Box<br />
to provide the necessary devices.<br />
– Check that the line is connected with the correct phase sequence.<br />
– The cable inlet point is created by drilling a hole in the side or base of the electrical enclosure, depending on<br />
the model.<br />
– The control circuit is derived from the power supply through a transformer located inside the electrical panel.<br />
– The control circuit is protected by fuses.<br />
Electrical cable anchorage: anchor the electrical power cables with<br />
fixing systems able to withstand pulling and torsional stress.<br />
Before any operation on the electrical section, be sure that the electric<br />
supply is disconnected.<br />
Power cable and line protection must be sized according to the specification<br />
indicated on the wiring diagram and the documents supplied<br />
with the unit.<br />
The crankcase heaters must be connected at least 12 hours before<br />
starting the unit; the heaters are automatically connected when the<br />
main disconnect switch is set to the ON position.<br />
The electrical supply must be within the limits shown. If this is not<br />
the case the warranty will be terminated immediately.<br />
6.18.2 Power supply to crankcase heaters<br />
1) Close the main disconnect switch by turning it from position “0” to position “1”<br />
2) Check that the word “OFF” is shown on the display<br />
3) Ensure that the unit is in “OFF” status and that the external enabling contact is open<br />
4) Leave the unit in this condition for at least 12 hours to allow the crankcase heaters to perform their function<br />
6.18.3 Potential free contacts<br />
The following potential free contacts are available:<br />
– 1 potential free contact for general alarm<br />
– 1 potential free contact for compressor<br />
– 1 contact for each pair of fans (option)<br />
– 1 contact for circulating pump (option - ST models)<br />
<strong>Air</strong> Blue • 22