RM2235 Manual PDF - University of Utah
RM2235 Manual PDF - University of Utah
RM2235 Manual PDF - University of Utah

Create successful ePaper yourself
Turn your PDF publications into a flip-book with our unique Google optimized e-Paper software.
5.6 Sectioning<br />
Leica <strong>RM2235</strong><br />
Always turn the handwheel evenly in clockwise direction;<br />
otherwise, the brake will not work properly. The rotation speed<br />
<strong>of</strong> the handwheel must be adapted to suit the hardness <strong>of</strong> the specimen.<br />
For harder specimens, use a slower speed.<br />
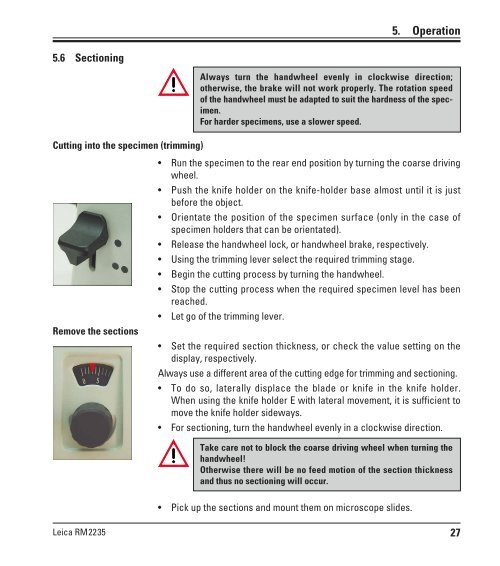
Cutting into the specimen (trimming)<br />
Run the specimen to the rear end position by turning the coarse driving<br />
wheel.<br />
Push the knife holder on the knife-holder base almost until it is just<br />
before the object.<br />
Orientate the position <strong>of</strong> the specimen surface (only in the case <strong>of</strong><br />
specimen holders that can be orientated).<br />
Release the handwheel lock, or handwheel brake, respectively.<br />
Using the trimming lever select the required trimming stage.<br />
Begin the cutting process by turning the handwheel.<br />
Stop the cutting process when the required specimen level has been<br />
reached.<br />
Let go <strong>of</strong> the trimming lever.<br />
Remove the sections<br />
Set the required section thickness, or check the value setting on the<br />
display, respectively.<br />
Always use a different area <strong>of</strong> the cutting edge for trimming and sectioning.<br />
To do so, laterally displace the blade or knife in the knife holder.<br />
When using the knife holder E with lateral movement, it is sufficient to<br />
move the knife holder sideways.<br />
For sectioning, turn the handwheel evenly in a clockwise direction.<br />
Take care not to block the coarse driving wheel when turning the<br />
handwheel!<br />
Otherwise there will be no feed motion <strong>of</strong> the section thickness<br />
and thus no sectioning will occur.<br />
Pick up the sections and mount them on microscope slides.<br />
5. Operation<br />
27