
Create successful ePaper yourself
Turn your PDF publications into a flip-book with our unique Google optimized e-Paper software.
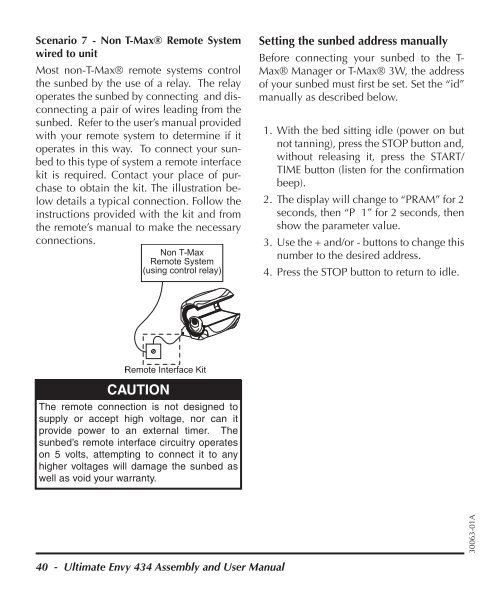
Scenario 7 - Non T-Max® Remote System<br />
wired to unit<br />
Most non-T-Max® remote systems control<br />
the sun<strong>bed</strong> by the use of a relay. The relay<br />
operates the sun<strong>bed</strong> by connecting and disconnecting<br />
a pair of wires leading from the<br />
sun<strong>bed</strong>. Refer to the <strong>user</strong>’s <strong>manual</strong> provided<br />
with your remote system to determine if it<br />
operates in this way. To connect your sun<strong>bed</strong><br />
to this type of system a remote interface<br />
kit is required. Contact your place of purchase<br />
to obtain the kit. The illustration below<br />
details a typical connection. Follow the<br />
instructions provided with the kit and from<br />
the remote’s <strong>manual</strong> to make the necessary<br />
connections.<br />
CAUTION<br />
The remote connection is not designed to<br />
supply or accept high voltage, nor can it<br />
provide power to an external timer. The<br />
sun<strong>bed</strong>’s remote interface circuitry operates<br />
on 5 volts, attempting to connect it to any<br />
higher voltages will damage the sun<strong>bed</strong> as<br />
well as void your warranty.<br />
40 - Ultimate Envy 434 Assembly and User Manual<br />
Setting the sun<strong>bed</strong> address <strong>manual</strong>ly<br />
Before connecting your sun<strong>bed</strong> to the T-<br />
Max® Manager or T-Max® 3W, the address<br />
of your sun<strong>bed</strong> must fi rst be set. Set the “id”<br />
<strong>manual</strong>ly as descri<strong>bed</strong> below.<br />
1. With the <strong>bed</strong> sitting idle (power on but<br />
not tanning), press the STOP button and,<br />
without releasing it, press the START/<br />
TIME button (listen for the confi rmation<br />
beep).<br />
2. The display will change to “PRAM” for 2<br />
seconds, then “P 1” for 2 seconds, then<br />
show the parameter value.<br />
3. Use the + and/or - buttons to change this<br />
number to the desired address.<br />
4. Press the STOP button to return to idle.<br />
30063-01A