ERF298MSW - Free-Instruction-Manuals.com
ERF298MSW - Free-Instruction-Manuals.com
ERF298MSW - Free-Instruction-Manuals.com

You also want an ePaper? Increase the reach of your titles
YUMPU automatically turns print PDFs into web optimized ePapers that Google loves.
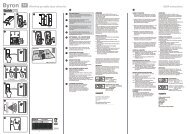
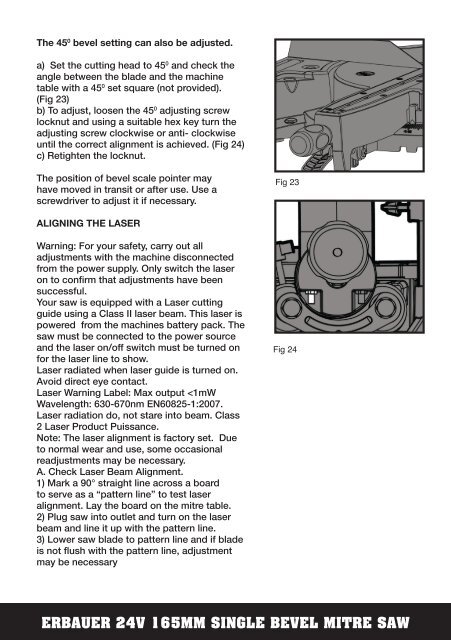
The 45 0 bevel setting can also be adjusted.<br />
a) Set the cutting head to 45 0 and check the<br />
angle between the blade and the machine<br />
table with a 45 0 set square (not provided).<br />
(Fig 23)<br />
b) To adjust, loosen the 45 0 adjusting screw<br />
locknut and using a suitable hex key turn the<br />
adjusting screw clockwise or anti- clockwise<br />
until the correct alignment is achieved. (Fig 24)<br />
c) Retighten the locknut.<br />
The position of bevel scale pointer may<br />
have moved in transit or after use. Use a<br />
screwdriver to adjust it if necessary.<br />
ALIGNING THE LASER<br />
Warning: For your safety, carry out all<br />
adjustments with the machine disconnected<br />
from the power supply. Only switch the laser<br />
on to confirm that adjustments have been<br />
successful.<br />
Your saw is equipped with a Laser cutting<br />
guide using a Class II laser beam. This laser is<br />
powered from the machines battery pack. The<br />
saw must be connected to the power source<br />
and the laser on/off switch must be turned on<br />
for the laser line to show.<br />
Laser radiated when laser guide is turned on.<br />
Avoid direct eye contact.<br />
Laser Warning Label: Max output