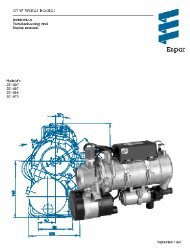
AIRTRONIC D2/D4 Espar
AIRTRONIC D2/D4 Espar
AIRTRONIC D2/D4 Espar

Create successful ePaper yourself
Turn your PDF publications into a flip-book with our unique Google optimized e-Paper software.
28<br />
Dismantling the heat exchanger<br />
Removing the combustion air blower<br />
• remove the <strong>AIRTRONIC</strong> cover<br />
• remove the control unit.<br />
Remove the flange seal.<br />
Take the <strong>AIRTRONIC</strong> out of the outer case (lower part).<br />
Unscrew the 4 fastening screws from the combustion air blower.<br />
Remove the combustion air blower and the seal from the heat<br />
exchanger.<br />
Important!<br />
When reassembling the combustion air blower, a new seal is<br />
always required.<br />
Tighten the 4 fastening screws of the combustion air blower in<br />
the series shown in the drawing, with a tightening torque of 4<br />
+0.5<br />
Nm.<br />
Combustion Air blower<br />
Heat Exchanger<br />
Fastening screws<br />
- Tighten the fastening screws in this sequence with a<br />
tightening torque of 4 +0.5 Nm<br />
Always replace the seal between combustion air<br />
blower and heat exchanger