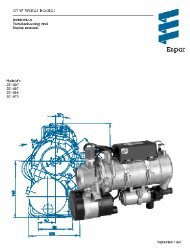
AIRTRONIC D2/D4 Espar
AIRTRONIC D2/D4 Espar
AIRTRONIC D2/D4 Espar

Create successful ePaper yourself
Turn your PDF publications into a flip-book with our unique Google optimized e-Paper software.
9<br />
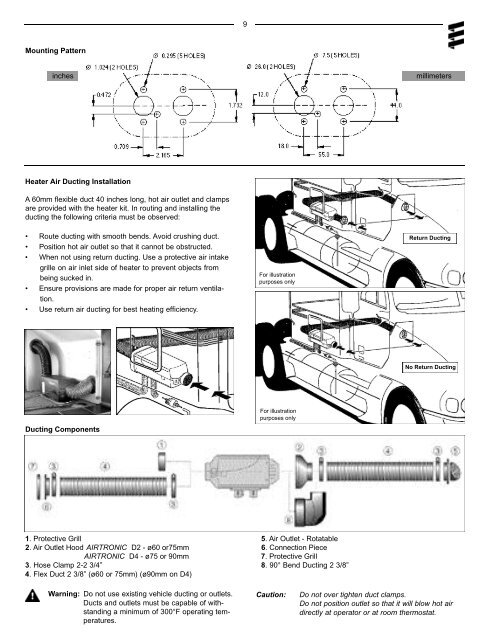
Mounting Pattern<br />
inches<br />
millimeters<br />
Heater Air Ducting Installation<br />
A 60mm flexible duct 40 inches long, hot air outlet and clamps<br />
are provided with the heater kit. In routing and installing the<br />
ducting the following criteria must be observed:<br />
• Route ducting with smooth bends. Avoid crushing duct.<br />
• Position hot air outlet so that it cannot be obstructed.<br />
• When not using return ducting. Use a protective air intake<br />
grille on air inlet side of heater to prevent objects from<br />
being sucked in.<br />
• Ensure provisions are made for proper air return ventilation.<br />
• Use return air ducting for best heating efficiency.<br />
For illustration<br />
purposes only<br />
Return Ducting<br />
No Return Ducting<br />
Ducting Components<br />
For illustration<br />
purposes only<br />
1. Protective Grill 5. Air Outlet - Rotatable<br />
2. Air Outlet Hood <strong>AIRTRONIC</strong> <strong>D2</strong> - ø60 or75mm 6. Connection Piece<br />
<strong>AIRTRONIC</strong> <strong>D4</strong> - ø75 or 90mm<br />
7. Protective Grill<br />
3. Hose Clamp 2-2 3/4” 8. 90° Bend Ducting 2 3/8”<br />
4. Flex Duct 2 3/8” (ø60 or 75mm) (ø90mm on <strong>D4</strong>)<br />
Warning: Do not use existing vehicle ducting or outlets.<br />
Ducts and outlets must be capable of withstanding<br />
a minimum of 300°F operating temperatures.<br />
Caution:<br />
Do not over tighten duct clamps.<br />
Do not position outlet so that it will blow hot air<br />
directly at operator or at room thermostat.