You also want an ePaper? Increase the reach of your titles
YUMPU automatically turns print PDFs into web optimized ePapers that Google loves.
4.12 FOR ADVANCED USERS. 71<br />
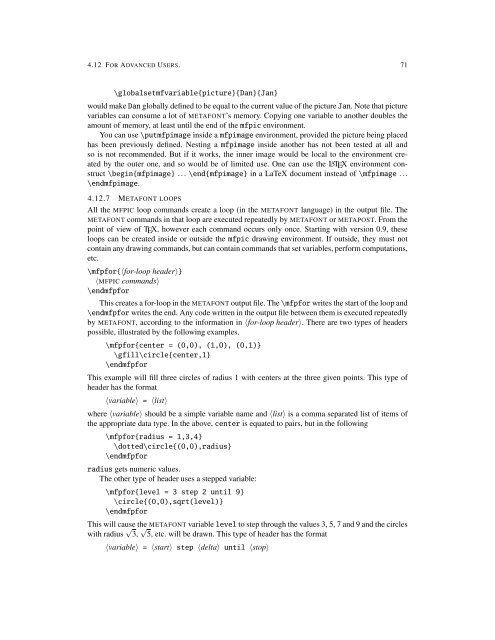
\globalsetmfvariable{picture}{Dan}{Jan}<br />
would make Dan globally defined to be equal to the current value of the picture Jan. Note that picture<br />
variables can consume a lot of METAFONT’s memory. Copying one variable to another doubles the<br />
amount of memory, at least until the end of the <strong>mfpic</strong> environment.<br />
You can use \putmfpimage inside a mfpimage environment, provided the picture being placed<br />
has been previously defined. Nesting a mfpimage inside another has not been tested at all and<br />
so is not recommended. But if it works, the inner image would be local to the environment created<br />
by the outer one, and so would be of limited use. One can use the LATEX environment construct<br />
\begin{mfpimage} ... \end{mfpimage} in a LaTeX <strong>doc</strong>ument instead of \mfpimage ...<br />
\endmfpimage.<br />
4.12.7 METAFONT LOOPS<br />
All the MFPIC loop commands create a loop (in the METAFONT language) in the output file. The<br />
METAFONT commands in that loop are executed repeatedly by METAFONT or METAPOST. From the<br />
point of view of TEX, however each command occurs only once. Starting with version 0.9, these<br />
loops can be created inside or outside the <strong>mfpic</strong> drawing environment. If outside, they must not<br />
contain any drawing commands, but can contain commands that set variables, perform computations,<br />
etc.<br />
\mfpfor{〈for-loop header〉}<br />
〈MFPIC commands〉<br />
\endmfpfor<br />
This creates a for-loop in the METAFONT output file. The \mfpfor writes the start of the loop and<br />
\endmfpfor writes the end. Any code written in the output file between them is executed repeatedly<br />
by METAFONT, according to the information in 〈for-loop header〉. There are two types of headers<br />
possible, illustrated by the following examples.<br />
\mfpfor{center = (0,0), (1,0), (0,1)}<br />
\gfill\circle{center,1}<br />
\endmfpfor<br />
This example will fill three circles of radius 1 with centers at the three given points. This type of<br />
header has the format<br />
〈variable〉 = 〈list〉<br />
where 〈variable〉 should be a simple variable name and 〈list〉 is a comma separated list of items of<br />
the appropriate data type. In the above, center is equated to pairs, but in the following<br />
\mfpfor{radius = 1,3,4}<br />
\dotted\circle{(0,0),radius}<br />
\endmfpfor<br />
radius gets numeric values.<br />
The other type of header uses a stepped variable:<br />
\mfpfor{level = 3 step 2 until 9}<br />
\circle{(0,0),sqrt(level)}<br />
\endmfpfor<br />
This will cause the METAFONT variable level to step through the values 3, 5, 7 and 9 and the circles<br />
with radius √ 3, √ 5, etc. will be drawn. This type of header has the format<br />
〈variable〉 = 〈start〉 step 〈delta〉 until 〈stop〉


