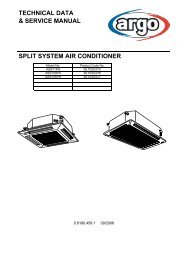
06-065 Mini ECO-i II for ARGO - Package
06-065 Mini ECO-i II for ARGO - Package
06-065 Mini ECO-i II for ARGO - Package

Create successful ePaper yourself
Turn your PDF publications into a flip-book with our unique Google optimized e-Paper software.
<strong>06</strong>-<strong>06</strong>5 <strong>Mini</strong> <strong>ECO</strong>-i <strong>II</strong> <strong>for</strong> <strong>ARGO</strong> 2/8/<strong>06</strong> 4:37 PM Page 36<br />
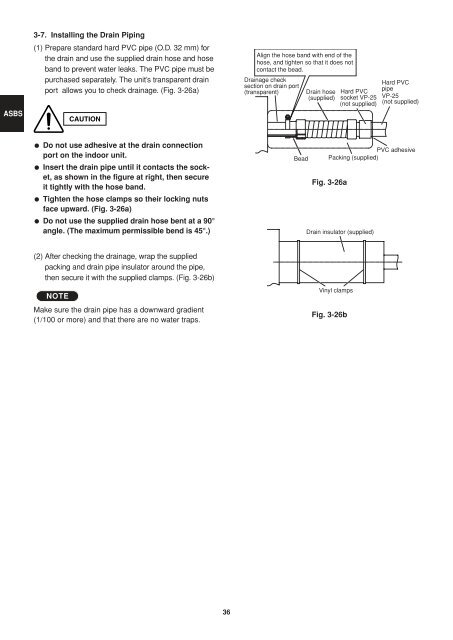
3-7. Installing the Drain Piping<br />
ASBS<br />
(1) Prepare standard hard PVC pipe (O.D. 32 mm) <strong>for</strong><br />
the drain and use the supplied drain hose and hose<br />
band to prevent water leaks. The PVC pipe must be<br />
purchased separately. The unit’s transparent drain<br />
port allows you to check drainage. (Fig. 3-26a)<br />
CAUTION<br />
Align the hose band with end of the<br />
hose, and tighten so that it does not<br />
contact the bead.<br />
Drainage check<br />
section on drain port<br />
(transparent)<br />
Drain hose<br />
(supplied)<br />
Hard PVC<br />
socket VP-25<br />
(not supplied)<br />
Hard PVC<br />
pipe<br />
VP-25<br />
(not supplied)<br />
● Do not use adhesive at the drain connection<br />
port on the indoor unit.<br />
● Insert the drain pipe until it contacts the socket,<br />
as shown in the figure at right, then secure<br />
it tightly with the hose band.<br />
● Tighten the hose clamps so their locking nuts<br />
face upward. (Fig. 3-26a)<br />
● Do not use the supplied drain hose bent at a 90°<br />
angle. (The maximum permissible bend is 45°.)<br />
PVC adhesive<br />
Bead Packing (supplied)<br />
Fig. 3-26a<br />
Drain insulator (supplied)<br />
(2) After checking the drainage, wrap the supplied<br />
packing and drain pipe insulator around the pipe,<br />
then secure it with the supplied clamps. (Fig. 3-26b)<br />
NOTE<br />
Make sure the drain pipe has a downward gradient<br />
(1/100 or more) and that there are no water traps.<br />
Vinyl clamps<br />
Fig. 3-26b<br />
36