(NCT) Manual 2010 - Road Safety Authority
(NCT) Manual 2010 - Road Safety Authority
(NCT) Manual 2010 - Road Safety Authority
You also want an ePaper? Increase the reach of your titles
YUMPU automatically turns print PDFs into web optimized ePapers that Google loves.
45<br />
NATIONAL CAR TEST (<strong>NCT</strong>) MANUAL <strong>2010</strong><br />
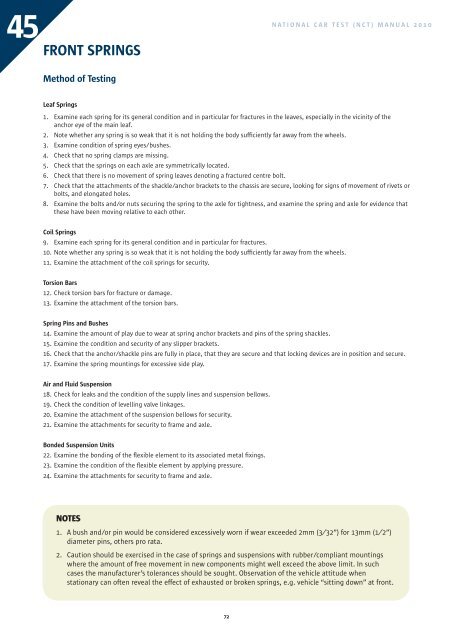
FRONT SPRINGS<br />
Method of Testing<br />
Leaf Springs<br />
1. Examine each spring for its general condition and in particular for fractures in the leaves, especially in the vicinity of the<br />
anchor eye of the main leaf.<br />
2. Note whether any spring is so weak that it is not holding the body sufficiently far away from the wheels.<br />
3. Examine condition of spring eyes/bushes.<br />
4. Check that no spring clamps are missing.<br />
5. Check that the springs on each axle are symmetrically located.<br />
6. Check that there is no movement of spring leaves denoting a fractured centre bolt.<br />
7. Check that the attachments of the shackle/anchor brackets to the chassis are secure, looking for signs of movement of rivets or<br />
bolts, and elongated holes.<br />
8. Examine the bolts and/or nuts securing the spring to the axle for tightness, and examine the spring and axle for evidence that<br />
these have been moving relative to each other.<br />
Coil Springs<br />
9. Examine each spring for its general condition and in particular for fractures.<br />
10. Note whether any spring is so weak that it is not holding the body sufficiently far away from the wheels.<br />
11. Examine the attachment of the coil springs for security.<br />
Torsion Bars<br />
12. Check torsion bars for fracture or damage.<br />
13. Examine the attachment of the torsion bars.<br />
Spring Pins and Bushes<br />
14. Examine the amount of play due to wear at spring anchor brackets and pins of the spring shackles.<br />
15. Examine the condition and security of any slipper brackets.<br />
16. Check that the anchor/shackle pins are fully in place, that they are secure and that locking devices are in position and secure.<br />
17. Examine the spring mountings for excessive side play.<br />
Air and Fluid Suspension<br />
18. Check for leaks and the condition of the supply lines and suspension bellows.<br />
19. Check the condition of levelling valve linkages.<br />
20. Examine the attachment of the suspension bellows for security.<br />
21. Examine the attachments for security to frame and axle.<br />
Bonded Suspension Units<br />
22. Examine the bonding of the flexible element to its associated metal fixings.<br />
23. Examine the condition of the flexible element by applying pressure.<br />
24. Examine the attachments for security to frame and axle.<br />
NOTES<br />
1. A bush and/or pin would be considered excessively worn if wear exceeded 2mm (3⁄32”) for 13mm (1⁄2”)<br />
diameter pins, others pro rata.<br />
2. Caution should be exercised in the case of springs and suspensions with rubber/compliant mountings<br />
where the amount of free movement in new components might well exceed the above limit. In such<br />
cases the manufacturer’s tolerances should be sought. Observation of the vehicle attitude when<br />
stationary can often reveal the effect of exhausted or broken springs, e.g. vehicle “sitting down” at front.<br />
72


