
You also want an ePaper? Increase the reach of your titles
YUMPU automatically turns print PDFs into web optimized ePapers that Google loves.
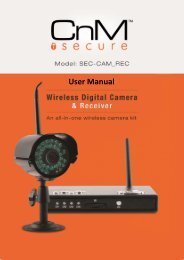
CnM IP Camera <strong>User</strong> <strong>Manual</strong><br />
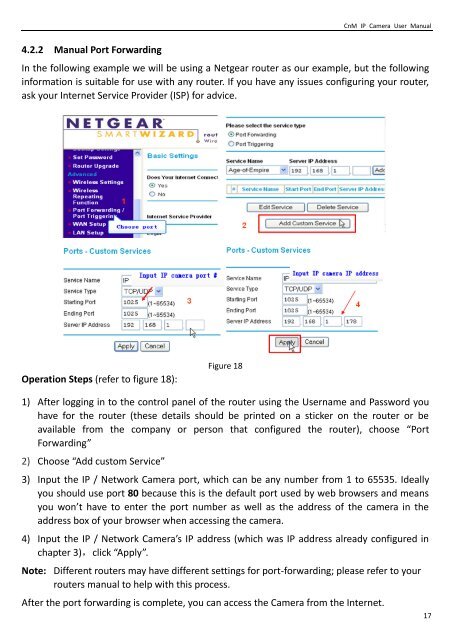
4.2.2 <strong>Manual</strong> Port Forwarding<br />
In the following example we will be using a Netgear router as our example, but the following<br />
information is suitable for use with any router. If you have any issues configuring your router,<br />
ask your Internet Service Provider (ISP) for advice.<br />
Operation Steps (refer to figure 18):<br />
Figure 18<br />
1) After logging in to the control panel of the router using the <strong>User</strong>name and Password you<br />
have for the router (these details should be printed on a sticker on the router or be<br />
available from the company or person that configured the router), choose “Port<br />
Forwarding”<br />
2) Choose “Add custom Service”<br />
3) Input the IP / Network Camera port, which can be any number from 1 to 65535. Ideally<br />
you should use port 80 because this is the default port used by web browsers and means<br />
you won’t have to enter the port number as well as the address of the camera in the<br />
address box of your browser when accessing the camera.<br />
4) Input the IP / Network Camera’s IP address (which was IP address already configured in<br />
chapter 3),click “Apply”.<br />
Note: Different routers may have different settings for port-forwarding; please refer to your<br />
routers manual to help with this process.<br />
After the port forwarding is complete, you can access the Camera from the Internet.<br />
17