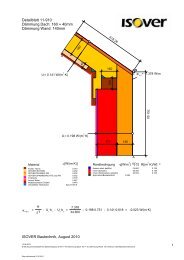
OPTIMA System - Isover
OPTIMA System - Isover
OPTIMA System - Isover

You also want an ePaper? Increase the reach of your titles
YUMPU automatically turns print PDFs into web optimized ePapers that Google loves.
Dealing with specific issues<br />
Integrating ducts<br />
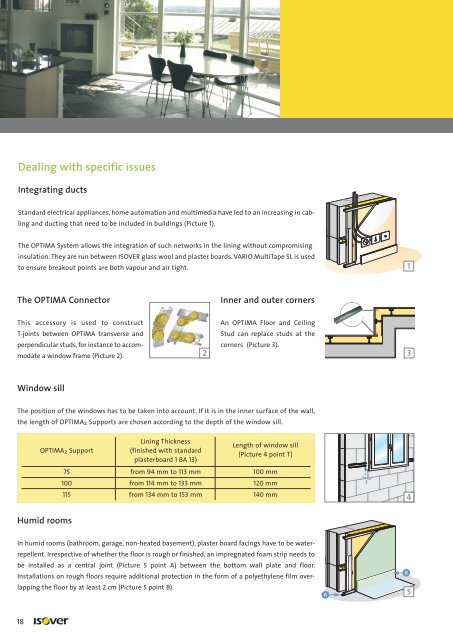
Standard electrical appliances, home automation and multimedia have led to an increasing in cabling<br />
and ducting that need to be included in buildings (Picture 1).<br />
The <strong>OPTIMA</strong> <strong>System</strong> allows the integration of such networks in the lining without compromising<br />
insulation. They are run between ISOVER glass wool and plaster boards. VARIO MultiTape SL is used<br />
to ensure breakout points are both vapour and air tight.<br />
The <strong>OPTIMA</strong> Connector<br />
This accessory is used to construct<br />
T-joints between <strong>OPTIMA</strong> transverse and<br />
perpendicular studs, for instance to accommodate<br />
a window frame (Picture 2).<br />
Window sill<br />
The position of the windows has to be taken into account. If it is in the inner surface of the wall,<br />
the length of <strong>OPTIMA</strong>2 Supports are chosen according to the depth of the window sill.<br />
Humid rooms<br />
In humid rooms (bathroom, garage, non-heated basement), plaster board facings have to be waterrepellent.<br />
Irrespective of whether the floor is rough or finished, an impregnated foam strip needs to<br />
be installed as a central joint (Picture 5 point A) between the bottom wall plate and floor.<br />
Installations on rough floors require additional protection in the form of a polyethylene film overlapping<br />
the floor by at least 2 cm (Picture 5 point B).<br />
18<br />
Inner and outer corners<br />
An <strong>OPTIMA</strong> Floor and Ceiling<br />
Stud can replace studs at the<br />
corners (Picture 3).<br />
<strong>OPTIMA</strong>2 Support<br />
Lining Thickness<br />
(finished with standard<br />
plasterboard 1 BA 13)<br />
Length of window sill<br />
(Picture 4 point T)<br />
75 from 94 mm to 113 mm 100 mm<br />
100 from 114 mm to 133 mm 120 mm<br />
115 from 134 mm to 153 mm 140 mm<br />
2<br />
A<br />
T<br />
1<br />
3<br />
4<br />
B<br />
5