
You also want an ePaper? Increase the reach of your titles
YUMPU automatically turns print PDFs into web optimized ePapers that Google loves.
<strong>MIRAGE</strong> Service Manual <strong>Carefree</strong> <strong>of</strong> <strong>Colorado</strong><br />
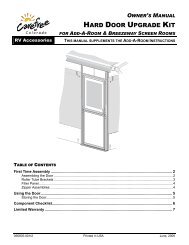
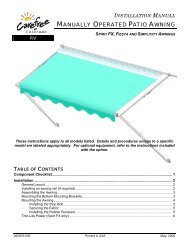
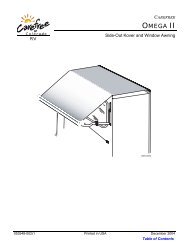
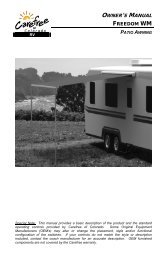
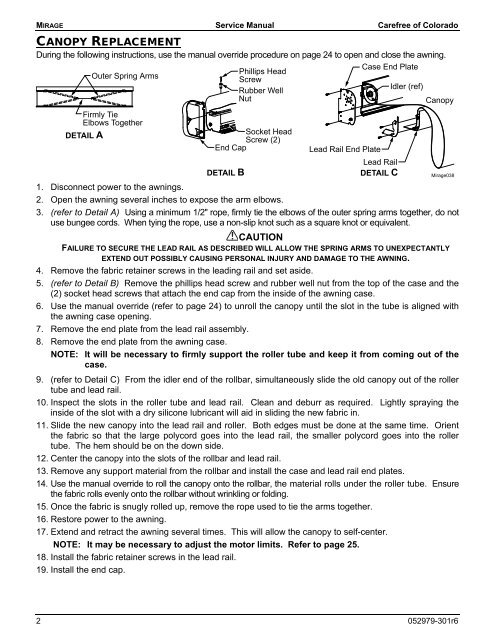
CANOPY REPLACEMENT<br />
During the following instructions, use the manual override procedure on page 24 to open and close the awning.<br />
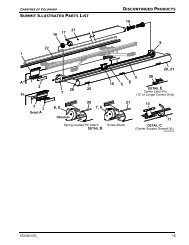
Case End Plate<br />
Phillips Head<br />
Outer Spring Arms<br />
Screw<br />
Idler (ref)<br />
Rubber Well<br />
Nut<br />
Canopy<br />
Firmly Tie<br />
Elbows Together<br />
DETAIL A<br />
Socket Head<br />
Screw (2)<br />
End Cap<br />
Lead Rail End Plate<br />
Lead Rail<br />
DETAIL B<br />
DETAIL C<br />
Mirage038<br />
1. Disconnect power to the awnings.<br />
2. Open the awning several inches to expose the arm elbows.<br />
3. (refer to Detail A) Using a minimum 1/2" rope, firmly tie the elbows <strong>of</strong> the outer spring arms together, do not<br />
use bungee cords. When tying the rope, use a non-slip knot such as a square knot or equivalent.<br />
CAUTION<br />
FAILURE TO SECURE THE LEAD RAIL AS DESCRIBED WILL ALLOW THE SPRING ARMS TO UNEXPECTANTLY<br />
EXTEND OUT POSSIBLY CAUSING PERSONAL INJURY AND DAMAGE TO THE AWNING.<br />
4. Remove the fabric retainer screws in the leading rail and set aside.<br />
5. (refer to Detail B) Remove the phillips head screw and rubber well nut from the top <strong>of</strong> the case and the<br />
(2) socket head screws that attach the end cap from the inside <strong>of</strong> the awning case.<br />
6. Use the manual override (refer to page 24) to unroll the canopy until the slot in the tube is aligned with<br />
the awning case opening.<br />
7. Remove the end plate from the lead rail assembly.<br />
8. Remove the end plate from the awning case.<br />
NOTE: It will be necessary to firmly support the roller tube and keep it from coming out <strong>of</strong> the<br />
case.<br />
9. (refer to Detail C) From the idler end <strong>of</strong> the rollbar, simultaneously slide the old canopy out <strong>of</strong> the roller<br />
tube and lead rail.<br />
10. Inspect the slots in the roller tube and lead rail. Clean and deburr as required. Lightly spraying the<br />
inside <strong>of</strong> the slot with a dry silicone lubricant will aid in sliding the new fabric in.<br />
11. Slide the new canopy into the lead rail and roller. Both edges must be done at the same time. Orient<br />
the fabric so that the large polycord goes into the lead rail, the smaller polycord goes into the roller<br />
tube. The hem should be on the down side.<br />
12. Center the canopy into the slots <strong>of</strong> the rollbar and lead rail.<br />
13. Remove any support material from the rollbar and install the case and lead rail end plates.<br />
14. Use the manual override to roll the canopy onto the rollbar, the material rolls under the roller tube. Ensure<br />
the fabric rolls evenly onto the rollbar without wrinkling or folding.<br />
15. Once the fabric is snugly rolled up, remove the rope used to tie the arms together.<br />
16. Restore power to the awning.<br />
17. Extend and retract the awning several times. This will allow the canopy to self-center.<br />
NOTE: It may be necessary to adjust the motor limits. Refer to page 25.<br />
18. Install the fabric retainer screws in the lead rail.<br />
19. Install the end cap.<br />
2 052979-301r6