


Create successful ePaper yourself
Turn your PDF publications into a flip-book with our unique Google optimized e-Paper software.
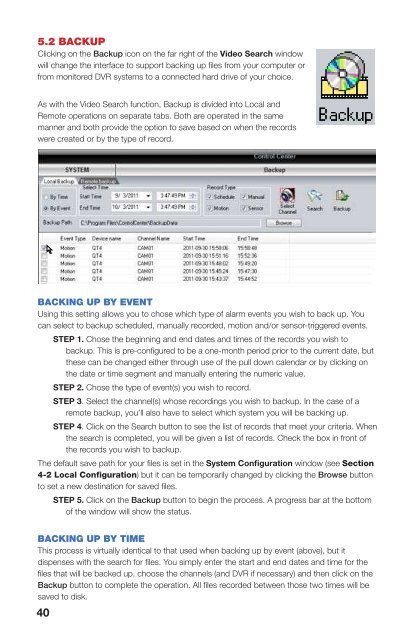
5.2 BACKUPClicking on the Backup icon on the far right of the Video Search windowwill change the interface to support backing up files from your computer orfrom monitored DVR systems to a connected hard drive of your choice.As with the Video Search function, Backup is divided into Local andRemote operations on separate tabs. Both are operated in the samemanner and both provide the option to save based on when the recordswere created or by the type of record.TROUBLESHOOTING APPENDIX 1If instead of seeing video images in Live View once you have added systems to <strong>CMS</strong> or, if thecamera images flash then it is likely that the computer’s video card’s VGA driver is not currentor does not have full DirectX support.To resolve this issue in Windows 2003 Server, 2007, XP or Vista click on the on the WindowsStart button at the lower left of the computer screen.Enter “dxdiag” into the run column and press Enter. The DirectX Diagnostic Tool windowwill open.BACKING UP BY EVENTUsing this setting allows you to chose which type of alarm events you wish to back up. Youcan select to backup scheduled, manually recorded, motion and/or sensor-triggered events.STEP 1. Chose the beginning and end dates and times of the records you wish tobackup. This is pre-configured to be a one-month period prior to the current date, butthese can be changed either through use of the pull down calendar or by clicking onthe date or time segment and manually entering the numeric value.STEP 2. Chose the type of event(s) you wish to record.STEP 3. Select the channel(s) whose recordings you wish to backup. In the case of aremote backup, you’ll also have to select which system you will be backing up.STEP 4. Click on the Search button to see the list of records that meet your criteria. Whenthe search is completed, you will be given a list of records. Check the box in front ofthe records you wish to backup.The default save path for your files is set in the System Configuration window (see Section4-2 Local Configuration) but it can be temporarily changed by clicking the Browse buttonto set a new destination for saved files.STEP 5. Click on the Backup button to begin the process. A progress bar at the bottomof the window will show the status.BACKING UP BY TIMEThis process is virtually identical to that used when backing up by event (above), but itdispenses with the search for files. You simply enter the start and end dates and time for thefiles that will be backed up, choose the channels (and DVR if necessary) and then click on theBackup button to complete the operation. All files recorded between those two times will besaved to disk.Click on the Display tab to check that the VGA, device and driver information is all correct.The field “Approx. Total Memory” should show a minimum of 64MB. The function state forDirectDraw acceleration and Direct3D acceleration must both be enabled.If the VGA driver is not current, or lacks full DirectDraw and/or DirectX support it will need tobe updated. You will need to check for updated drivers on the website for the manufacturer ofyour graphics card.Windows 2003 Server and VistaDirectX acceleration is not enabled by default in either Windows 2003 Server or Vista. You willneed to enable these functions:Hardware acceleration: Right click on the Desktop to open the pop-up menu. ChooseSettings, click on Advanced and then Troubleshoot. Drag the Hardware scroll bar all theway over and press OK. The monitor may go blank for less than a minute before asking you toconfirm the settings.DirectX Acceleration: Open the DirectX Diagnostic Tool window in the same manner asdescribed earlier. Enable DirectDraw, Direct3D and AGP on the Display interface.40 41


