KMD-201AA KMD-201AWA - Hoshizaki
KMD-201AA KMD-201AWA - Hoshizaki
KMD-201AA KMD-201AWA - Hoshizaki
- No tags were found...

Create successful ePaper yourself
Turn your PDF publications into a flip-book with our unique Google optimized e-Paper software.
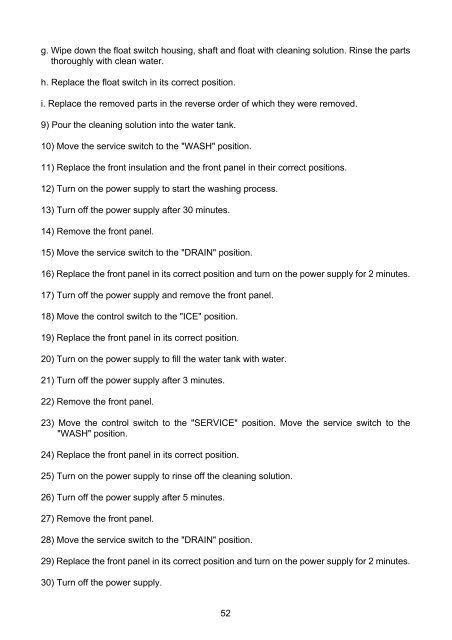
g. Wipe down the float switch housing, shaft and float with cleaning solution. Rinse the partsthoroughly with clean water.h. Replace the float switch in its correct position.i. Replace the removed parts in the reverse order of which they were removed.9) Pour the cleaning solution into the water tank.10) Move the service switch to the "WASH" position.11) Replace the front insulation and the front panel in their correct positions.12) Turn on the power supply to start the washing process.13) Turn off the power supply after 30 minutes.14) Remove the front panel.15) Move the service switch to the "DRAIN" position.16) Replace the front panel in its correct position and turn on the power supply for 2 minutes.17) Turn off the power supply and remove the front panel.18) Move the control switch to the "ICE" position.19) Replace the front panel in its correct position.20) Turn on the power supply to fill the water tank with water.21) Turn off the power supply after 3 minutes.22) Remove the front panel.23) Move the control switch to the "SERVICE" position. Move the service switch to the"WASH" position.24) Replace the front panel in its correct position.25) Turn on the power supply to rinse off the cleaning solution.26) Turn off the power supply after 5 minutes.27) Remove the front panel.28) Move the service switch to the "DRAIN" position.29) Replace the front panel in its correct position and turn on the power supply for 2 minutes.30) Turn off the power supply.52