


Create successful ePaper yourself
Turn your PDF publications into a flip-book with our unique Google optimized e-Paper software.
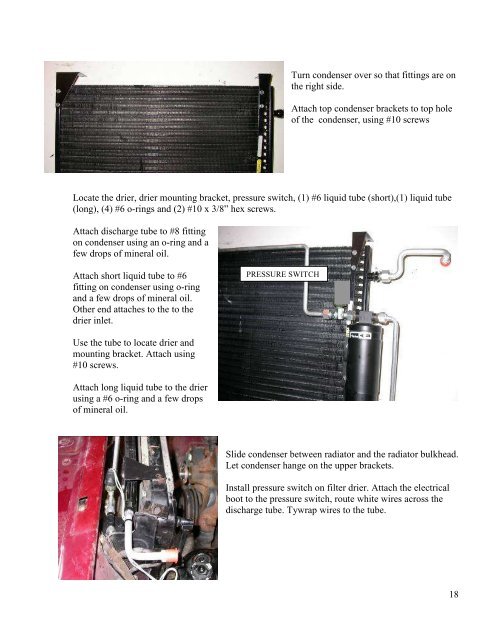
Turn condenser over so that fittings are onthe right side.Attach top condenser brackets to top holeof the condenser, using #10 screwsLocate the drier, drier mounting bracket, pressure switch, (1) #6 liquid tube (short),(1) liquid tube(long), (4) #6 o-rings and (2) #10 x 3/8” hex screws.Attach discharge tube to #8 fittingon condenser using an o-ring and afew drops of mineral oil.Attach short liquid tube to #6fitting on condenser using o-ringand a few drops of mineral oil.Other end attaches to the to thedrier inlet.PRESSURE SWITCHUse the tube to locate drier andmounting bracket. Attach using#10 screws.Attach long liquid tube to the drierusing a #6 o-ring and a few dropsof mineral oil.Slide condenser between radiator and the radiator bulkhead.Let condenser hange on the upper brackets.Install pressure switch on filter drier. Attach the electricalboot to the pressure switch, route white wires across thedischarge tube. Tywrap wires to the tube.18


