Create successful ePaper yourself
Turn your PDF publications into a flip-book with our unique Google optimized e-Paper software.
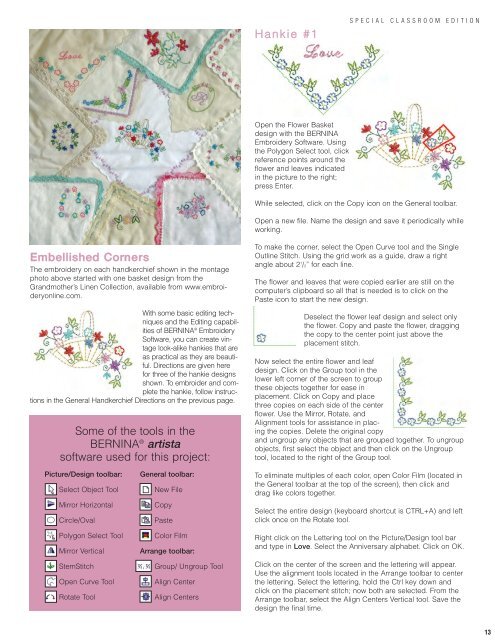
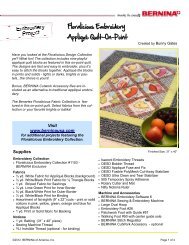
Hankie #1SPECIAL CLASSROOM EDITIONOpen the Flower Basketdesign with the BERNINAEmbroidery Software. Usingthe Polygon Select tool, clickreference points around theflower and leaves indicatedin the picture to the right;press Enter.While selected, click on the Copy icon on the General toolbar.Open a new file. Name the design and save it periodically whileworking.Embellished CornersThe embroidery on each handkerchief shown in the montagephoto above started with one basket design from theGrandmother’s Linen Collection, available from www.embroideryonline.com.With some basic editing techniquesand the Editing capabilitiesof BERNINA ® EmbroiderySoftware, you can create vintagelook-alike hankies that areas practical as they are beautiful.Directions are given herefor three of the hankie designsshown. To embroider and completethe hankie, follow instructionsin the General Handkerchief Directions on the previous page.Some of the tools in theBERNINA ® artistasoftware used for this project:To make the corner, select the Open Curve tool and the SingleOutline Stitch. Using the grid work as a guide, draw a rightangle about 2 1 /2” for each line.The flower and leaves that were copied earlier are still on thecomputer’s clipboard so all that is needed is to click on thePaste icon to start the new design.Deselect the flower leaf design and select onlythe flower. Copy and paste the flower, draggingthe copy to the center point just above theplacement stitch.Now select the entire flower and leafdesign. Click on the Group tool in thelower left corner of the screen to groupthese objects together for ease inplacement. Click on Copy and placethree copies on each side of the centerflower. Use the Mirror, Rotate, andAlignment tools for assistance in placingthe copies. Delete the original copyand ungroup any objects that are grouped together. To ungroupobjects, first select the object and then click on the Ungrouptool, located to the right of the Group tool.Picture/Design toolbar:Select Object ToolMirror HorizontalCircle/OvalPolygon Select ToolMirror VerticalStemStitchOpen Curve ToolRotate ToolGeneral toolbar:New FileCopyPasteColor FilmArrange toolbar:Group/ Ungroup ToolAlign CenterAlign CentersTo eliminate multiples of each color, open Color Film (located inthe General toolbar at the top of the screen), then click anddrag like colors together.Select the entire design (keyboard shortcut is CTRL+A) and leftclick once on the Rotate tool.Right click on the Lettering tool on the Picture/Design tool barand type in Love. Select the Anniversary alphabet. Click on OK.Click on the center of the screen and the lettering will appear.Use the alignment tools located in the Arrange toolbar to centerthe lettering. Select the lettering, hold the Ctrl key down andclick on the placement stitch; now both are selected. From theArrange toolbar, select the Align Centers Vertical tool. Save thedesign the final time.13


