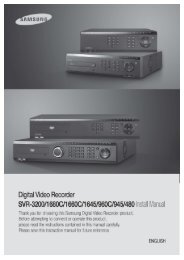
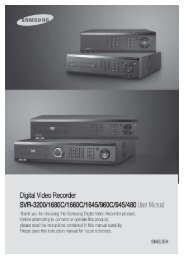
4 CHANNEL DVR
4 CHANNEL DVR
4 CHANNEL DVR
- No tags were found...

Create successful ePaper yourself
Turn your PDF publications into a flip-book with our unique Google optimized e-Paper software.
RECORD SETUPYou can configure the settings of record-related options such as RECORDING OPERATIONS, CONTINUOUS/MOTION RECORDING, ALARM RECORDING, INSTANT RECORDING.To start the RECORD SETUP1.2.3.Press the [MENU] button on the remote control or click button on the launcher menu.The SETUP menu screen appears.Use the direction buttons to move to and press the [ENTER] button.The login dialog appears.Select a user account and enter the password. Only those users who have the right permissions can access theSetup menu.SETUPSYSTEM SETUPRECORD SETUP<strong>DVR</strong> SETUPRECORDING OPERATIONYou can specify the recording period with the pre and post recording times.1. Access to display the RECORDINGOPERATIONS setup screen.RECORDRECORDINGOPERATIONS2. Use direction buttons (▲▼◄►) to move to a desiredSCHEDULE MODEDAILYCONTINUOUS/PRE EVENT RECORDING TIME5 SECMOTIONitem, and press the [ENTER] button to set the value.RECORDING POST EVENT RECORDING TIME5 SECALARMRECORDING• SCHEDULE MODE: Specify the schedule mode.INSTANTRECORDINGThe specified schedule mode will be applied toContinuous/Motion Record and Alarm Record.• PRE EVENT RECORDING TIME: Specify the pre eventCANCEL APPLY CLOSErecording time that will be applied if an event occurs.Recording will start before the specified time if an eventoccurs.• POST EVENT RECORDING TIME: Specify the end recording time that will be applied if an event occurs.Recording will continue after the specified time if an event occurs.3. When your settings are completed, press the button on the bottom.Your settings will be applied.4. Press the button to display the confirmation dialog and return to the previous menu.English _45