Sierra Series 830/840/860 Side-Trak™ and ... - Sierra Instruments
Sierra Series 830/840/860 Side-Trak™ and ... - Sierra Instruments
Sierra Series 830/840/860 Side-Trak™ and ... - Sierra Instruments
Create successful ePaper yourself
Turn your PDF publications into a flip-book with our unique Google optimized e-Paper software.
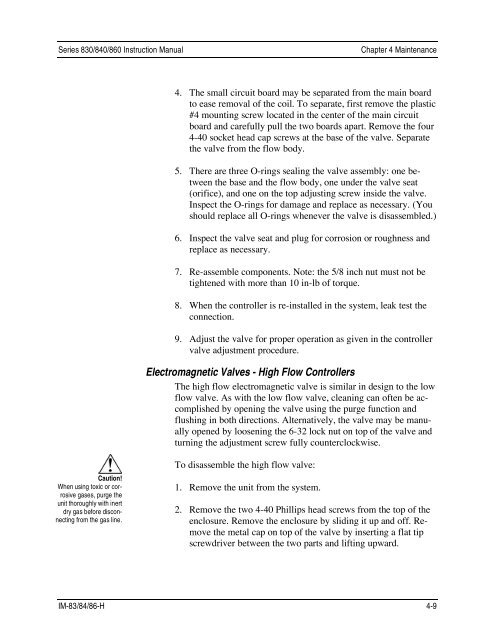
<strong>Series</strong> <strong>830</strong>/<strong>840</strong>/<strong>860</strong> Instruction ManualChapter 4 Maintenance4. The small circuit board may be separated from the main boardto ease removal of the coil. To separate, first remove the plastic#4 mounting screw located in the center of the main circuitboard <strong>and</strong> carefully pull the two boards apart. Remove the four4-40 socket head cap screws at the base of the valve. Separatethe valve from the flow body.5. There are three O-rings sealing the valve assembly: one betweenthe base <strong>and</strong> the flow body, one under the valve seat(orifice), <strong>and</strong> one on the top adjusting screw inside the valve.Inspect the O-rings for damage <strong>and</strong> replace as necessary. (Youshould replace all O-rings whenever the valve is disassembled.)6. Inspect the valve seat <strong>and</strong> plug for corrosion or roughness <strong>and</strong>replace as necessary.7. Re-assemble components. Note: the 5/8 inch nut must not betightened with more than 10 in-lb of torque.8. When the controller is re-installed in the system, leak test theconnection.9. Adjust the valve for proper operation as given in the controllervalve adjustment procedure.Electromagnetic Valves - High Flow ControllersThe high flow electromagnetic valve is similar in design to the lowflow valve. As with the low flow valve, cleaning can often be accomplishedby opening the valve using the purge function <strong>and</strong>flushing in both directions. Alternatively, the valve may be manuallyopened by loosening the 6-32 lock nut on top of the valve <strong>and</strong>turning the adjustment screw fully counterclockwise.Caution!When using toxic or corrosivegases, purge theunit thoroughly with inertdry gas before disconnectingfrom the gas line.To disassemble the high flow valve:1. Remove the unit from the system.2. Remove the two 4-40 Phillips head screws from the top of theenclosure. Remove the enclosure by sliding it up <strong>and</strong> off. Removethe metal cap on top of the valve by inserting a flat tipscrewdriver between the two parts <strong>and</strong> lifting upward.IM-83/84/86-H 4-9


