XMIPP introductory demo
XMIPP introductory demo
XMIPP introductory demo

You also want an ePaper? Increase the reach of your titles
YUMPU automatically turns print PDFs into web optimized ePapers that Google loves.
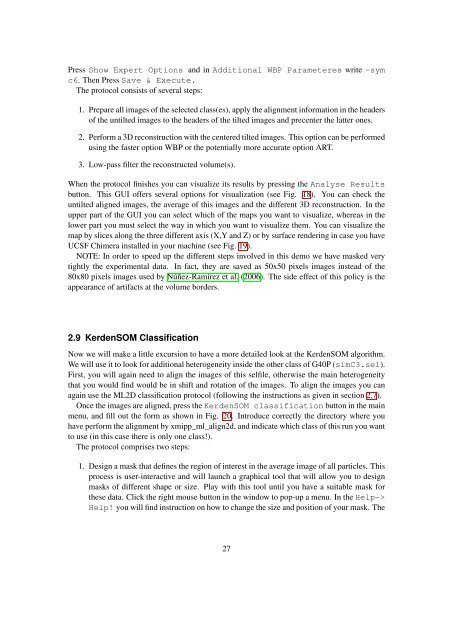
Press Show Expert Options and in Additional WBP Parameteres write -symc6. Then Press Save & Execute.The protocol consists of several steps:1. Prepare all images of the selected class(es), apply the alignment information in the headersof the untilted images to the headers of the tilted images and precenter the latter ones.2. Perform a 3D reconstruction with the centered tilted images. This option can be performedusing the faster option WBP or the potentially more accurate option ART.3. Low-pass filter the reconstructed volume(s).When the protocol finishes you can visualize its results by pressing the Analyse Resultsbutton. This GUI offers several options for visualization (see Fig. 18). You can check theuntilted aligned images, the average of this images and the different 3D reconstruction. In theupper part of the GUI you can select which of the maps you want to visualize, whereas in thelower part you must select the way in which you want to visualize them. You can visualize themap by slices along the three different axis (X,Y and Z) or by surface rendering in case you haveUCSF Chimera installed in your machine (see Fig. 19).NOTE: In order to speed up the different steps involved in this <strong>demo</strong> we have masked verytightly the experimental data. In fact, they are saved as 50x50 pixels images instead of the80x80 pixels images used by Núñez-Ramírez et al. (2006). The side effect of this policy is theappearance of artifacts at the volume borders.2.9 KerdenSOM ClassificationNow we will make a little excursion to have a more detailed look at the KerdenSOM algorithm.We will use it to look for additional heterogeneity inside the other class of G40P (simC3.sel).First, you will again need to align the images of this selfile, otherwise the main heterogeneitythat you would find would be in shift and rotation of the images. To align the images you canagain use the ML2D classification protocol (following the instructions as given in section 2.7).Once the images are aligned, press the KerdenSOM classification button in the mainmenu, and fill out the form as shown in Fig. 20. Introduce correctly the directory where youhave perform the alignment by xmipp_ml_align2d, and indicate which class of this run you wantto use (in this case there is only one class!).The protocol comprises two steps:1. Design a mask that defines the region of interest in the average image of all particles. Thisprocess is user-interactive and will launch a graphical tool that will allow you to designmasks of different shape or size. Play with this tool until you have a suitable mask forthese data. Click the right mouse button in the window to pop-up a menu. In the Help->Help! you will find instruction on how to change the size and position of your mask. The27