Quick Start Guide - Golden Software
Quick Start Guide - Golden Software
Quick Start Guide - Golden Software
- No tags were found...
You also want an ePaper? Increase the reach of your titles
YUMPU automatically turns print PDFs into web optimized ePapers that Google loves.
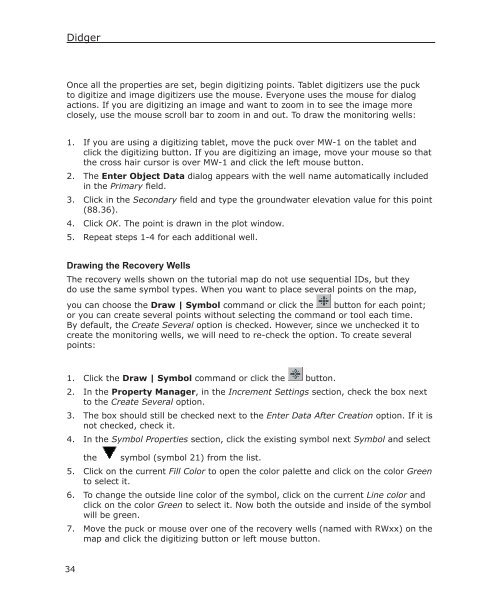
DidgerOnce all the properties are set, begin digitizing points. Tablet digitizers use the puckto digitize and image digitizers use the mouse. Everyone uses the mouse for dialogactions. If you are digitizing an image and want to zoom in to see the image moreclosely, use the mouse scroll bar to zoom in and out. To draw the monitoring wells:1. If you are using a digitizing tablet, move the puck over MW-1 on the tablet andclick the digitizing button. If you are digitizing an image, move your mouse so thatthe cross hair cursor is over MW-1 and click the left mouse button.2. The Enter Object Data dialog appears with the well name automatically includedin the Primary field.3. Click in the Secondary field and type the groundwater elevation value for this point(88.36).4. Click OK. The point is drawn in the plot window.5. Repeat steps 1-4 for each additional well.Drawing the Recovery WellsThe recovery wells shown on the tutorial map do not use sequential IDs, but theydo use the same symbol types. When you want to place several points on the map,you can choose the Draw | Symbol command or click the button for each point;or you can create several points without selecting the command or tool each time.By default, the Create Several option is checked. However, since we unchecked it tocreate the monitoring wells, we will need to re-check the option. To create severalpoints:1. Click the Draw | Symbol command or click the button.2. In the Property Manager, in the Increment Settings section, check the box nextto the Create Several option.3. The box should still be checked next to the Enter Data After Creation option. If it isnot checked, check it.4. In the Symbol Properties section, click the existing symbol next Symbol and selectthesymbol (symbol 21) from the list.5. Click on the current Fill Color to open the color palette and click on the color Greento select it.6. To change the outside line color of the symbol, click on the current Line color andclick on the color Green to select it. Now both the outside and inside of the symbolwill be green.7. Move the puck or mouse over one of the recovery wells (named with RWxx) on themap and click the digitizing button or left mouse button.34


