Octagon January, 2017

You also want an ePaper? Increase the reach of your titles
YUMPU automatically turns print PDFs into web optimized ePapers that Google loves.
sections for “A” pillars, front guards and<br />
inner and outer sill panels, and purchased<br />
repair sections for front and rear lower<br />
guards. Most Saturdays, Greg would be<br />
welding these in place, then grinding to a<br />
neat finish.<br />
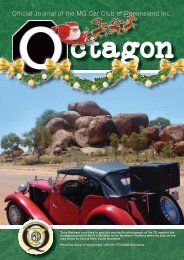
The rear inner guards had already been cut<br />
out to allow for the flares, so we fabricated<br />
new “tubs” and Greg went to work again<br />
with the welder. The front section of the<br />
transmission tunnel also had to be removed<br />
and a new section fabricated and fitted<br />
to accommodate the 5 speed gearbox.<br />
This brought us to the stage of fitting the<br />
fibreglass flares. There are many horror<br />
stories about attaching fibreglass to steel,<br />
and after hunting around I came across a<br />
product called Techniglue, which apparently<br />
is used in the marine industry for bonding<br />
alloy, steel, fibreglass etc. It is a relatively<br />
easy to use 2 pack product which appears<br />
to have done an excellent job of bonding,<br />
and sands to a good finish. Finally the shell<br />
was sound and we could move on to the<br />
mechanicals.<br />
At this point we discovered that a limited slip<br />
option was not available for the Mitsubishi<br />
differential that came with the car, so we<br />
again reverted to Ford items rather than the<br />
very strong but heavy Toyota diff favoured<br />
by most. A billet CWP set has been fitted<br />
with a plate style LSD and much stronger<br />
2 piece half shafts. We turned to English<br />
suppliers for major suspension components,<br />
adjustable GAZ platform struts and springs<br />
for the front, with camber/castor adjustable<br />
top mounts and GAZ adjustable shocks for<br />
the rear. An “A” frame is used to locate the<br />
rear end. Locally manufactured King Springs<br />
do the job on the rear, and front and rear<br />
anti-roll bars were also sourced in Australia.<br />
We fabricated a new top mount for the rear<br />
shocks which allows them to be mounted<br />
more vertically.<br />
Next came the brakes which are operated<br />
by a bias adjustable pedal box. Improved<br />
production regulations allow us to use<br />
15” diameter wheels which in turn provide<br />
clearance for larger rotors and calipers. The<br />
fronts are 285mm rotors mounted on alloy<br />
hubs and 4 pot Wilwood calipers. The rears<br />
are 247mm rotors, again with Wilwood 4 pot<br />
calipers. At this point we also purchased a<br />
set of Compomotive 15 x 7 alloy wheels.<br />
The gearbox received a full rebuild including<br />
a straight cut close ratio gear set. Greg’s<br />
skills proved invaluable as he was able<br />
to assemble and set up both the diff and<br />
gearbox.<br />
14<br />
The <strong>Octagon</strong> - <strong>January</strong> <strong>2017</strong><br />
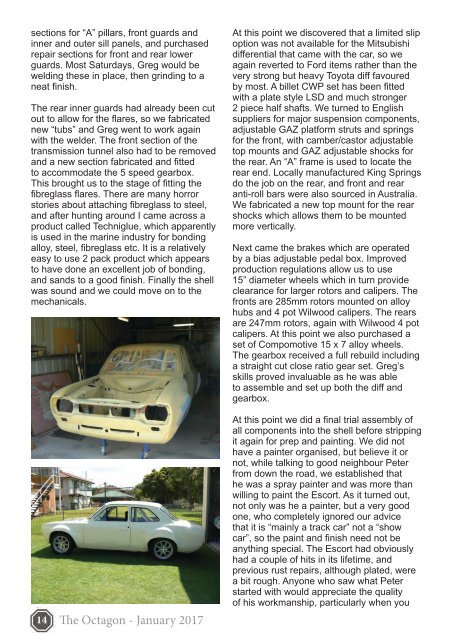
At this point we did a final trial assembly of<br />
all components into the shell before stripping<br />
it again for prep and painting. We did not<br />
have a painter organised, but believe it or<br />
not, while talking to good neighbour Peter<br />
from down the road, we established that<br />
he was a spray painter and was more than<br />
willing to paint the Escort. As it turned out,<br />
not only was he a painter, but a very good<br />
one, who completely ignored our advice<br />
that it is “mainly a track car” not a “show<br />
car”, so the paint and finish need not be<br />
anything special. The Escort had obviously<br />
had a couple of hits in its lifetime, and<br />
previous rust repairs, although plated, were<br />
a bit rough. Anyone who saw what Peter<br />
started with would appreciate the quality<br />
of his workmanship, particularly when you