


Create successful ePaper yourself
Turn your PDF publications into a flip-book with our unique Google optimized e-Paper software.
@<strong>PC</strong>PRO<br />
FACEBOOK.COM/<strong>PC</strong>PRO<br />
iPhone inductive charging<br />
One the biggest annoyances of the<br />
iPhone 6 and 7 range is that they<br />
don’t support inductive charging.<br />
It’s even more annoying because<br />
inductive charging has been the<br />
only way of charging an Apple<br />
Watch since that particular<br />
device shipped. So Apple clearly<br />
knows all about it, and has<br />
shipped product using it. But not<br />
the iPhone range.<br />
My annoyance is compounded<br />
when trying to fiddle with either<br />
the Lightning cable or the desktop<br />
stand I have for charging my iPhone.<br />
Getting it correctly aligned so that<br />
it connects up is tricky, doubly so<br />
in the dark at 2am without my<br />
glasses on.<br />
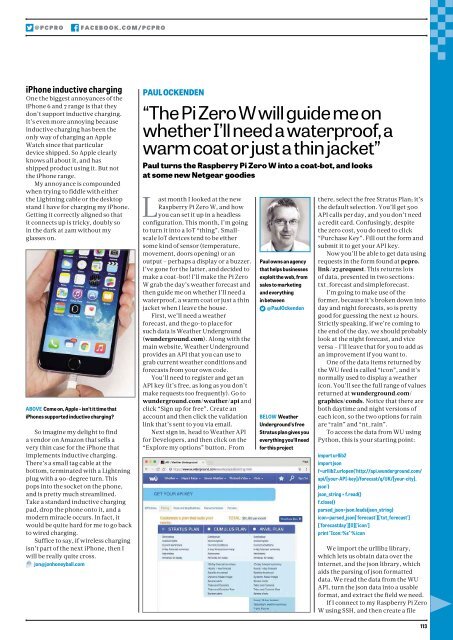
ABOVE Come on, Apple – isn’t it time that<br />
iPhones supported inductive charging?<br />
So imagine my delight to find<br />
a vendor on Amazon that sells a<br />
very thin case for the iPhone that<br />
implements inductive charging.<br />
There’s a small tag cable at the<br />
bottom, terminated with a Lightning<br />
plug with a 90-degree turn. This<br />
pops into the socket on the phone,<br />
and is pretty much streamlined.<br />
Take a standard inductive charging<br />
pad, drop the phone onto it, and a<br />
modern miracle occurs. In fact, it<br />
would be quite hard for me to go back<br />
to wired charging.<br />
Suffice to say, if wireless charging<br />
isn’t part of the next iPhone, then I<br />
will be really quite cross.<br />
jon@jonhoneyball.com<br />
PAUL OCKENDEN<br />
“The Pi Zero W will guide me on<br />
whether I’ll need a waterproof, a<br />
warm coat or just a thin jacket”<br />
Paul turns the Raspberry Pi Zero W into a coat-bot, and looks<br />
at some new Netgear goodies<br />
Last month I looked at the new<br />
Raspberry Pi Zero W, and how<br />
you can set it up in a headless<br />
configuration. This month, I’m going<br />
to turn it into a IoT “thing”. Smallscale<br />
IoT devices tend to be either<br />
some kind of sensor (temperature,<br />
movement, doors opening) or an<br />
output – perhaps a display or a buzzer.<br />
I’ve gone for the latter, and decided to<br />
make a coat-bot! I’ll make the Pi Zero<br />
W grab the day’s weather forecast and<br />
then guide me on whether I’ll need a<br />
waterproof, a warm coat or just a thin<br />
jacket when I leave the house.<br />
First, we’ll need a weather<br />
forecast, and the go-to place for<br />
such data is Weather Underground<br />
(wunderground.com). Along with the<br />
main website, Weather Underground<br />
provides an API that you can use to<br />
grab current weather conditions and<br />
forecasts from your own code.<br />
You’ll need to register and get an<br />
API key (it’s free, as long as you don’t<br />
make requests too frequently). Go to<br />
wunderground.com/weather/api and<br />
click “Sign up for free”. Create an<br />
account and then click the validation<br />
link that’s sent to you via email.<br />
Next sign in, head to Weather API<br />
for Developers, and then click on the<br />
“Explore my options” button. From<br />
Paul owns an agency<br />
that helps businesses<br />
exploit the web, from<br />
sales to marketing<br />
and everything<br />
in between<br />
@PaulOckenden<br />
BELOW Weather<br />
Underground’s free<br />
Stratus plan gives you<br />
everything you’ll need<br />
for this project<br />
there, select the free Stratus Plan; it’s<br />
the default selection. You’ll get 500<br />
API calls per day, and you don’t need<br />
a credit card. Confusingly, despite<br />
the zero cost, you do need to click<br />
“Purchase Key”. Fill out the form and<br />
submit it to get your API key.<br />
Now you’ll be able to get data using<br />
requests in the form found at pcpro.<br />
link/<strong>274</strong>request. This returns lots<br />
of data, presented in two sections:<br />
txt_forecast and simpleforecast.<br />
I’m going to make use of the<br />
former, because it’s broken down into<br />
day and night forecasts, so is pretty<br />
good for guessing the next 12 hours.<br />
Strictly speaking, if we’re coming to<br />
the end of the day, we should probably<br />
look at the night forecast, and vice<br />
versa – I’ll leave that for you to add as<br />
an improvement if you want to.<br />
One of the data items returned by<br />
the WU feed is called “icon”, and it’s<br />
normally used to display a weather<br />
icon. You’ll see the full range of values<br />
returned at wunderground.com/<br />
graphics/conds. Notice that there are<br />
both daytime and night versions of<br />
each icon, so the two options for rain<br />
are “rain” and “nt_rain”.<br />
To access the data from WU using<br />
Python, this is your starting point:<br />
import urllib2<br />
import json<br />
f=urllib2.urlopen('http://api.wunderground.com/<br />
api/[your-API-key]/forecast/q/UK/[your-city].<br />
json')<br />
json_string = f.read()<br />
f.close()<br />
parsed_json=json.loads(json_string)<br />
icon=parsed_json['forecast']['txt_forecast']<br />
['forecastday'][0]['icon']<br />
print "Icon: %s" % icon<br />
We import the urllib2 library,<br />
which lets us obtain data over the<br />
internet, and the json library, which<br />
aids the parsing of json formatted<br />
data. We read the data from the WU<br />
API, turn the json data into a usable<br />
format, and extract the field we need.<br />
If I connect to my Raspberry Pi Zero<br />
W using SSH, and then create a file<br />
113


