

QUILTsocial Issue 14
While exploring and playing with the Brother Luminaire XP1 and the Husqvarna Viking Designer EPIC sewing machines, we're after what is original in quilting ideas. In this issue we show you how to piece fabric using decorative stitches instead of the typical quarter inch seam. We use traditional quilt blocks to make a modern quilt, show you how to use the flip and stitch technique of quilt making, the golden 5 steps to add a flange to a binding to give the quilt edge some pop of color. Many free patterns and inspiring new quilting ideas!sew
While exploring and playing with the Brother Luminaire XP1 and the Husqvarna Viking Designer EPIC sewing machines, we're after what is original in quilting ideas. In this issue we show you how to piece fabric using decorative stitches instead of the typical quarter inch seam. We use traditional quilt blocks to make a modern quilt, show you how to use the flip and stitch technique of quilt making, the golden 5 steps to add a flange to a binding to give the quilt edge some pop of color. Many free patterns and inspiring new quilting ideas!sew

You also want an ePaper? Increase the reach of your titles
YUMPU automatically turns print PDFs into web optimized ePapers that Google loves.
Wall quilt tutorial: decorative stitches and curved<br />
piecing, let’s do it!<br />
In this feature, I'm doing some fusible applique to create<br />
a leaf design wall quilt using a few more of the many<br />
decorative stitches available on this machine.<br />
I used some scraps of Banyan Batiks by Northcott that I<br />
had left over from previous <strong>QUILTsocial</strong> posts for my<br />
leaves. I like batiks because I’ll do raw-edge applique<br />
and the edges won’t fray. I used 5 different blacks for the<br />
background (using up scraps again!) but you could use all<br />
the same fabric if you wish.<br />
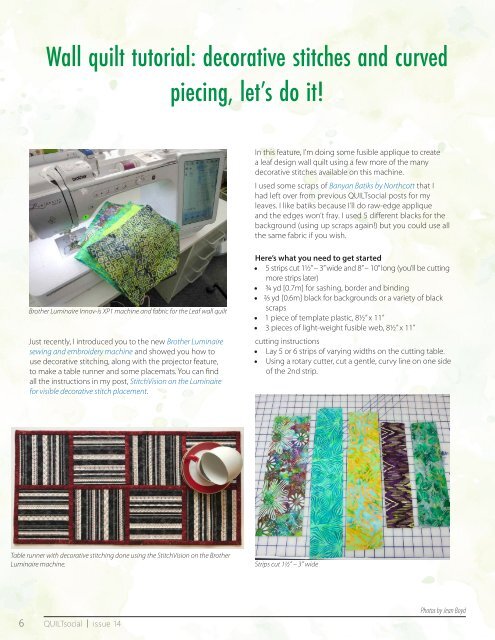
Brother Luminaire Innov-ís XP1 machine and fabric for the Leaf wall quilt<br />
Just recently, I introduced you to the new Brother Luminaire<br />
sewing and embroidery machine and showed you how to<br />
use decorative stitching, along with the projector feature,<br />
to make a table runner and some placemats. You can find<br />
all the instructions in my post, StitchVision on the Luminaire<br />
for visible decorative stitch placement.<br />
Here’s what you need to get started<br />
• 5 strips cut 1½” – 3” wide and 8” – 10” long (you’ll be cutting<br />
more strips later)<br />
• ¾ yd [0.7m] for sashing, border and binding<br />
• 2⁄3 yd [0.6m] black for backgrounds or a variety of black<br />
scraps<br />
• 1 piece of template plastic, 8½” x 11”<br />
• 3 pieces of light-weight fusible web, 8½” x 11”<br />
cutting instructions<br />
• Lay 5 or 6 strips of varying widths on the cutting table.<br />
• Using a rotary cutter, cut a gentle, curvy line on one side<br />
of the 2nd strip.<br />
Table runner with decorative stitching done using the StitchVision on the Brother<br />
Luminaire machine.<br />
Strips cut 1½” – 3'' wide<br />
6 <strong>QUILTsocial</strong> | issue <strong>14</strong><br />
Photos by Jean Boyd


