The Garage 354

Create successful ePaper yourself
Turn your PDF publications into a flip-book with our unique Google optimized e-Paper software.
DIAGNOSTICS<br />
FAI Automotive<br />
advises on<br />
common valve<br />
clearance issue<br />
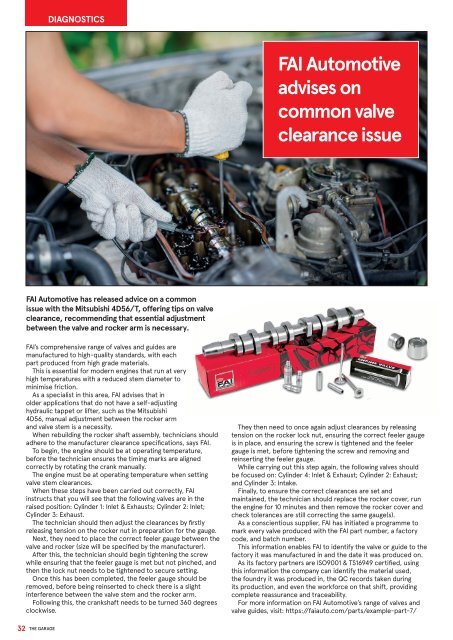
FAI Automotive has released advice on a common<br />
issue with the Mitsubishi 4D56/T, offering tips on valve<br />
clearance, recommending that essential adjustment<br />
between the valve and rocker arm is necessary.<br />
FAI’s comprehensive range of valves and guides are<br />
manufactured to high-quality standards, with each<br />
part produced from high grade materials.<br />
This is essential for modern engines that run at very<br />
high temperatures with a reduced stem diameter to<br />
minimise friction.<br />
As a specialist in this area, FAI advises that in<br />
older applications that do not have a self-adjusting<br />
hydraulic tappet or lifter, such as the Mitsubishi<br />
4D56, manual adjustment between the rocker arm<br />
and valve stem is a necessity.<br />
When rebuilding the rocker shaft assembly, technicians should<br />
adhere to the manufacturer clearance specifications, says FAI.<br />
To begin, the engine should be at operating temperature,<br />
before the technician ensures the timing marks are aligned<br />
correctly by rotating the crank manually.<br />
<strong>The</strong> engine must be at operating temperature when setting<br />
valve stem clearances.<br />
When these steps have been carried out correctly, FAI<br />
instructs that you will see that the following valves are in the<br />
raised position: Cylinder 1: Inlet & Exhausts; Cylinder 2: Inlet;<br />
Cylinder 3: Exhaust.<br />
<strong>The</strong> technician should then adjust the clearances by firstly<br />
releasing tension on the rocker nut in preparation for the gauge.<br />
Next, they need to place the correct feeler gauge between the<br />
valve and rocker (size will be specified by the manufacturer).<br />
After this, the technician should begin tightening the screw<br />
while ensuring that the feeler gauge is met but not pinched, and<br />
then the lock nut needs to be tightened to secure setting.<br />
Once this has been completed, the feeler gauge should be<br />
removed, before being reinserted to check there is a slight<br />
interference between the valve stem and the rocker arm.<br />
Following this, the crankshaft needs to be turned 360 degrees<br />
clockwise.<br />
<strong>The</strong>y then need to once again adjust clearances by releasing<br />
tension on the rocker lock nut, ensuring the correct feeler gauge<br />
is in place, and ensuring the screw is tightened and the feeler<br />
gauge is met, before tightening the screw and removing and<br />
reinserting the feeler gauge.<br />
While carrying out this step again, the following valves should<br />
be focused on: Cylinder 4: Inlet & Exhaust; Cylinder 2: Exhaust;<br />
and Cylinder 3: Intake.<br />
Finally, to ensure the correct clearances are set and<br />
maintained, the technician should replace the rocker cover, run<br />
the engine for 10 minutes and then remove the rocker cover and<br />
check tolerances are still correcting the same gauge(s).<br />
As a conscientious supplier, FAI has initiated a programme to<br />
mark every valve produced with the FAI part number, a factory<br />
code, and batch number.<br />
This information enables FAI to identify the valve or guide to the<br />
factory it was manufactured in and the date it was produced on.<br />
As its factory partners are ISO9001 & TS16949 certified, using<br />
this information the company can identify the material used,<br />
the foundry it was produced in, the QC records taken during<br />
its production, and even the workforce on that shift, providing<br />
complete reassurance and traceability.<br />
For more information on FAI Automotive’s range of valves and<br />
valve guides, visit: https://faiauto.com/parts/example-part-7/<br />
1<br />
32 THE GARAGE<br />
28-32 Feature Diagnostics.indd 4 30/08/2023 15:23