instruction manual and warranty rules instructions d ... - DT Swiss
instruction manual and warranty rules instructions d ... - DT Swiss
instruction manual and warranty rules instructions d ... - DT Swiss
You also want an ePaper? Increase the reach of your titles
YUMPU automatically turns print PDFs into web optimized ePapers that Google loves.
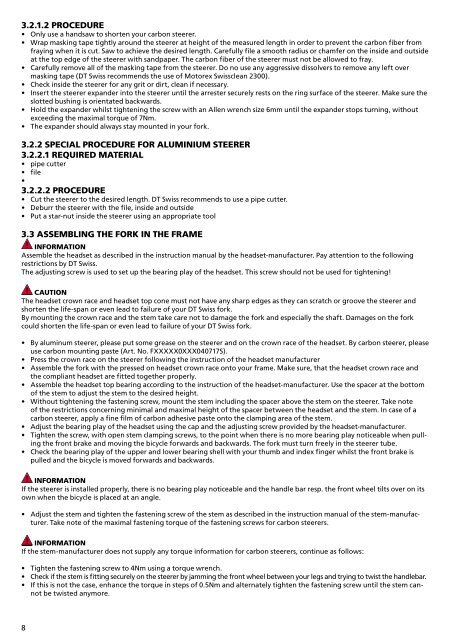
3.2.1.2 PROCEDURE<br />
• Only use a h<strong>and</strong>saw to shorten your carbon steerer.<br />
• Wrap masking tape tightly around the steerer at height of the measured length in order to prevent the carbon fiber from<br />
fraying when it is cut. Saw to achieve the desired length. Carefully file a smooth radius or chamfer on the inside <strong>and</strong> outside<br />
at the top edge of the steerer with s<strong>and</strong>paper. The carbon fiber of the steerer must not be allowed to fray.<br />
• Carefully remove all of the masking tape from the steerer. Do no use any aggressive dissolvers to remove any left over<br />
masking tape (<strong>DT</strong> <strong>Swiss</strong> recommends the use of Motorex <strong>Swiss</strong>clean 2300).<br />
• Check inside the steerer for any grit or dirt, clean if necessary.<br />
• Insert the steerer exp<strong>and</strong>er into the steerer until the arrester securely rests on the ring surface of the steerer. Make sure the<br />
slotted bushing is orientated backwards.<br />
• Hold the exp<strong>and</strong>er whilst tightening the screw with an Allen wrench size 6mm until the exp<strong>and</strong>er stops turning, without<br />
exceeding the maximal torque of 7Nm.<br />
• The exp<strong>and</strong>er should always stay mounted in your fork.<br />
3.2.2 SPECIAL PROCEDURE FOR ALUMINIUM STEERER<br />
3.2.2.1 REQUIRED MATERIAL<br />
• pipe cutter<br />
• file<br />
•<br />
3.2.2.2 PROCEDURE<br />
• Cut the steerer to the desired length. <strong>DT</strong> <strong>Swiss</strong> recommends to use a pipe cutter.<br />
• Deburr the steerer with the file, inside <strong>and</strong> outside<br />
• Put a star-nut inside the steerer using an appropriate tool<br />
3.3 ASSEMBLING THE FORK IN THE FRAME<br />
INFORMATION<br />
Assemble the headset as described in the <strong>instruction</strong> <strong>manual</strong> by the headset-manufacturer. Pay attention to the following<br />
restrictions by <strong>DT</strong> <strong>Swiss</strong>.<br />
The adjusting screw is used to set up the bearing play of the headset. This screw should not be used for tightening!<br />
CAUTION<br />
The headset crown race <strong>and</strong> headset top cone must not have any sharp edges as they can scratch or groove the steerer <strong>and</strong><br />
shorten the life-span or even lead to failure of your <strong>DT</strong> <strong>Swiss</strong> fork.<br />
By mounting the crown race <strong>and</strong> the stem take care not to damage the fork <strong>and</strong> especially the shaft. Damages on the fork<br />
could shorten the life-span or even lead to failure of your <strong>DT</strong> <strong>Swiss</strong> fork.<br />
• By aluminum steerer, please put some grease on the steerer <strong>and</strong> on the crown race of the headset. By carbon steerer, please<br />
use carbon mounting paste (Art. No. FXXXXX0XXX040717S).<br />
• Press the crown race on the steerer following the <strong>instruction</strong> of the headset manufacturer<br />
• Assemble the fork with the pressed on headset crown race onto your frame. Make sure, that the headset crown race <strong>and</strong><br />
the compliant headset are fitted together properly.<br />
• Assemble the headset top bearing according to the <strong>instruction</strong> of the headset-manufacturer. Use the spacer at the bottom<br />
of the stem to adjust the stem to the desired height.<br />
• Without tightening the fastening screw, mount the stem including the spacer above the stem on the steerer. Take note<br />
of the restrictions concerning minimal <strong>and</strong> maximal height of the spacer between the headset <strong>and</strong> the stem. In case of a<br />
carbon steerer, apply a fine film of carbon adhesive paste onto the clamping area of the stem.<br />
• Adjust the bearing play of the headset using the cap <strong>and</strong> the adjusting screw provided by the headset-manufacturer.<br />
• Tighten the screw, with open stem clamping screws, to the point when there is no more bearing play noticeable when pulling<br />
the front brake <strong>and</strong> moving the bicycle forwards <strong>and</strong> backwards. The fork must turn freely in the steerer tube.<br />
• Check the bearing play of the upper <strong>and</strong> lower bearing shell with your thumb <strong>and</strong> index finger whilst the front brake is<br />
pulled <strong>and</strong> the bicycle is moved forwards <strong>and</strong> backwards.<br />
INFORMATION<br />
If the steerer is installed properly, there is no bearing play noticeable <strong>and</strong> the h<strong>and</strong>le bar resp. the front wheel tilts over on its<br />
own when the bicycle is placed at an angle.<br />
• Adjust the stem <strong>and</strong> tighten the fastening screw of the stem as described in the <strong>instruction</strong> <strong>manual</strong> of the stem-manufacturer.<br />
Take note of the maximal fastening torque of the fastening screws for carbon steerers.<br />
INFORMATION<br />
If the stem-manufacturer does not supply any torque information for carbon steerers, continue as follows:<br />
• Tighten the fastening screw to 4Nm using a torque wrench.<br />
• Check if the stem is fitting securely on the steerer by jamming the front wheel between your legs <strong>and</strong> trying to twist the h<strong>and</strong>lebar.<br />
• If this is not the case, enhance the torque in steps of 0.5Nm <strong>and</strong> alternately tighten the fastening screw until the stem cannot<br />
be twisted anymore.<br />
8


