Mercury Software User Manual - MicroDAQ.com
Mercury Software User Manual - MicroDAQ.com
Mercury Software User Manual - MicroDAQ.com

You also want an ePaper? Increase the reach of your titles
YUMPU automatically turns print PDFs into web optimized ePapers that Google loves.
<strong>User</strong> <strong>Manual</strong><br />
<strong>Mercury</strong> Graphic Supporting <strong>Software</strong><br />
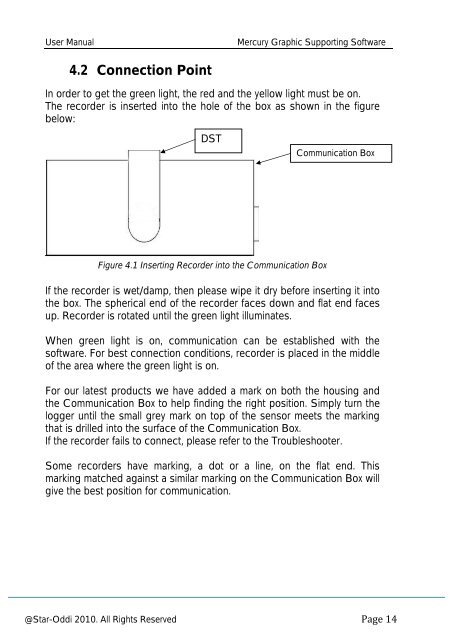
4.2 Connection Point<br />
In order to get the green light, the red and the yellow light must be on.<br />
The recorder is inserted into the hole of the box as shown in the figure<br />
below:<br />
DST<br />
Communication Box<br />
Figure 4.1 Inserting Recorder into the Communication Box<br />
If the recorder is wet/damp, then please wipe it dry before inserting it into<br />
the box. The spherical end of the recorder faces down and flat end faces<br />
up. Recorder is rotated until the green light illuminates.<br />
When green light is on, <strong>com</strong>munication can be established with the<br />
software. For best connection conditions, recorder is placed in the middle<br />
of the area where the green light is on.<br />
For our latest products we have added a mark on both the housing and<br />
the Communication Box to help finding the right position. Simply turn the<br />
logger until the small grey mark on top of the sensor meets the marking<br />
that is drilled into the surface of the Communication Box.<br />
If the recorder fails to connect, please refer to the Troubleshooter.<br />
Some recorders have marking, a dot or a line, on the flat end. This<br />
marking matched against a similar marking on the Communication Box will<br />
give the best position for <strong>com</strong>munication.<br />
@Star-Oddi 2010. All Rights Reserved