- Page 1 and 2:
Shark ® 200-S Electronic Submeter
- Page 3 and 4:
Shark® 200-S Submeter User Manual
- Page 5 and 6:
About Electro Industries/GaugeTech
- Page 7 and 8:
Table of Contents EIG Warranty ii C
- Page 9 and 10:
B.5: Retrieving Logs Using the Modb
- Page 11 and 12:
Chapter 1 Three-Phase Power Measure
- Page 13 and 14:
1.1.2: Delta Connection Delta conn
- Page 15 and 16:
single three-phase reading. Some di
- Page 17 and 18:
Time Interval (Minute) Power (kW) E
- Page 19 and 20:
I R V I X I Angle θ Figure 1.9: Vo
- Page 21 and 22:
Total A Phase Current with Harmonic
- Page 23 and 24:
1.5: Power Quality Power quality c
- Page 25 and 26:
Chapter 2 Shark ® 200-S Submeter O
- Page 27 and 28:
2.1.3: Measured Values The Shark ®
- Page 29 and 30:
Environmental Rating • Storage: (
- Page 31 and 32:
Chapter 3 Mechanical Installation 3
- Page 33 and 34:
3.3: Secure the Cover 1. Close the
- Page 35 and 36:
Chapter 4 Electrical Installation 4
- Page 37 and 38:
4.5: Electrical Connection Diagrams
- Page 39 and 40:
2. Service: 2.5 Element WYE, 4-Wire
- Page 41 and 42:
4. Service: 2.5 Element WYE, 4-Wire
- Page 43 and 44:
6. Service: Delta, 3-Wire with No P
- Page 45 and 46:
8. Service: Delta, 3-Wire with 2 PT
- Page 47 and 48:
10. Service: Current Only Measureme
- Page 49 and 50:
Chapter 5 Communication Installatio
- Page 51 and 52:
5.1.2: RS485 Communication Com 2 (4
- Page 53 and 54:
5.1.4: Ethernet Connection In order
- Page 55 and 56:
The Communicator EXT Main screen re
- Page 57 and 58:
Energy, Power Scaling, and Averagin
- Page 59 and 60:
Chapter 6 Ethernet Connection Confi
- Page 61 and 62:
4. You will see the window shown on
- Page 63 and 64:
1) Network/IP Settings: Network Mod
- Page 65 and 66:
6.4: Network Module Hardware Initia
- Page 67 and 68:
Chapter 7 Using the Shark ® 200-S
- Page 69 and 70:
7.2.2: Using the Main Menu 1. Press
- Page 71 and 72:
7.2.5: Using Configuration Mode Con
- Page 73 and 74:
7.2.5.2: Configuring CT Setting The
- Page 75 and 76:
7.2.5.4: Configuring Connection Set
- Page 77 and 78:
Operating Mode Parameter Readings:
- Page 79 and 80:
Figure 7.3: Using the Watt-Hour Tes
- Page 81 and 82:
Appendix A Navigation Maps for the
- Page 83 and 84:
Operating Mode Screens RIGHT See No
- Page 85 and 86: Configuration Mode Screens See Note
- Page 87 and 88: Appendix B Modbus Mapping and Log R
- Page 89 and 90: B.5: Retrieving Logs Using the Shar
- Page 91 and 92: etween Historical Logs 1, 2, and 3.
- Page 93 and 94: 2) Log Status Block: The Log Status
- Page 95 and 96: • Enable: This value sets if a lo
- Page 97 and 98: Starting Address Hi C3 Starting Add
- Page 99 and 100: • Space in the window after the l
- Page 101 and 102: 4) Compute #RecPerWin as (246\18)=1
- Page 103 and 104: 10) If number records - current ind
- Page 105 and 106: Group (Event group) Event (Event wi
- Page 107 and 108: send: :01 03 C7 57 00 10 - Historic
- Page 109 and 110: Modbus Address Fixed Data Section I
- Page 111 and 112: Primary Demand Block read-only Hex
- Page 113 and 114: Phase Angle Block read-only Hex Dec
- Page 115 and 116: Primary Minimum Timestamp Block rea
- Page 117 and 118: Primary Maximum Timestamp Block rea
- Page 119 and 120: Programmable Settings Section Basic
- Page 121 and 122: 12-Bit Readings Section 12-Bit Bloc
- Page 123 and 124: Data Formats ASCII ASCII characters
- Page 125 and 126: Appendix C Using DNP Mapping for th
- Page 127 and 128: C.6: DNP Lite Register Map Object 1
- Page 129 and 130: Object 80 - Internal Indicator Obje
- Page 131 and 132: Reset Energy Request 05 64 18 C4 ds
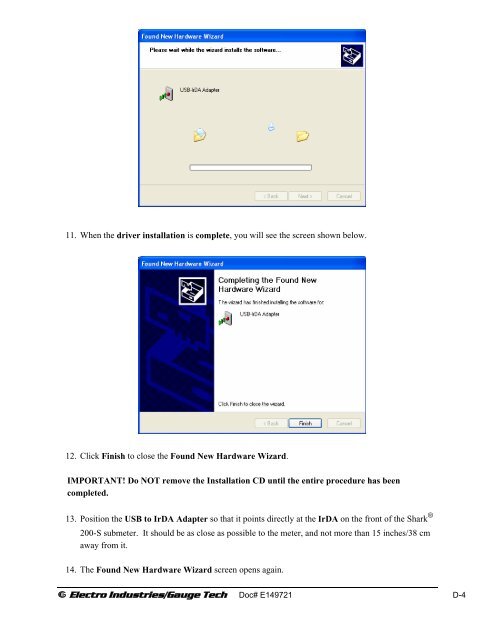
- Page 133 and 134: Appendix D Using the USB to IrDA Ad
- Page 135: 8. You do not need to be concerned
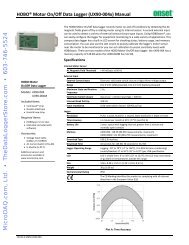
- Page 139 and 140: Click Finish to close the Found New