Manuals_files/CD Manual 12.pdf - Removable Prosthodontics
Manuals_files/CD Manual 12.pdf - Removable Prosthodontics
Manuals_files/CD Manual 12.pdf - Removable Prosthodontics

You also want an ePaper? Increase the reach of your titles
YUMPU automatically turns print PDFs into web optimized ePapers that Google loves.
Tissue Conditioning - 15<br />
4. Mix the tissue conditioner according to the manufacturer’s instructions. Mix with a<br />
stropping action against the mixing container. Do not use a vigorous stirring action<br />
which can lead to the incorporation of bubbles that are difficult to eliminate from the<br />
viscous mixture. In general, liners can be mixed slightly stiffer than recommended by<br />
adding additional powder to the liquid component. This can be done to decrease the flow<br />
from underneath a denture during setting, when an increase in the occlusal vertical<br />
dimension is desired. Do not mix the liner thinner than suggested by the manufacturer, as<br />
this can have deleterious effects on the physical properties and longevity of the liner.<br />
5. Apply a smooth even layer to the denture, usually starting at the posterior and teasing the<br />
material forward without incorporating air bubbles. Bring the tissue conditioner over<br />
peripheries about 6 mm, so that saliva cannot get between the denture and the conditioner<br />
in the area of the periphery. This will minimize the possibility of separation of the<br />
conditioner from the denture. Excess can be removed later.<br />
6. Place the denture intraorally, having an assistant help retract the commissures of the<br />
mouth to avoid accidental removal of the liner during insertion. Insertion is easier if the<br />
patient relaxes the cheeks and lips rather than opening maximally. Avoid touching the<br />
material during initial placement.<br />
7. Stabilize the denture and have the patient close lightly, until initial contact is felt or seen.<br />
If occlusal contacts are uneven, have the patient open, and tilt, tip or bodily move the<br />
denture into a position where stable even contacts can be obtained. Border mold the<br />
peripheries, when the material begins to gain viscosity (about 3 minutes for most tissue<br />
conditioners).<br />
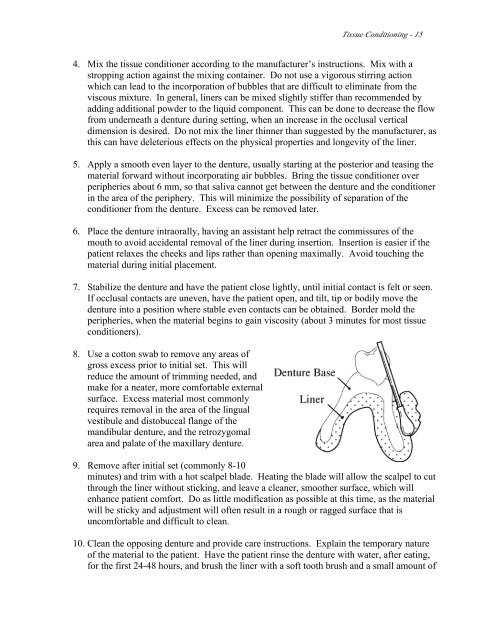
8. Use a cotton swab to remove any areas of<br />
gross excess prior to initial set. This will<br />
reduce the amount of trimming needed, and<br />
make for a neater, more comfortable external<br />
surface. Excess material most commonly<br />
requires removal in the area of the lingual<br />
vestibule and distobuccal flange of the<br />
mandibular denture, and the retrozygomal<br />
area and palate of the maxillary denture.<br />
9. Remove after initial set (commonly 8-10<br />
minutes) and trim with a hot scalpel blade. Heating the blade will allow the scalpel to cut<br />
through the liner without sticking, and leave a cleaner, smoother surface, which will<br />
enhance patient comfort. Do as little modification as possible at this time, as the material<br />
will be sticky and adjustment will often result in a rough or ragged surface that is<br />
uncomfortable and difficult to clean.<br />
10. Clean the opposing denture and provide care instructions. Explain the temporary nature<br />
of the material to the patient. Have the patient rinse the denture with water, after eating,<br />
for the first 24-48 hours, and brush the liner with a soft tooth brush and a small amount of