TL-WPA271_V1_UserGuide - TP-Link
TL-WPA271_V1_UserGuide - TP-Link
TL-WPA271_V1_UserGuide - TP-Link

You also want an ePaper? Increase the reach of your titles
YUMPU automatically turns print PDFs into web optimized ePapers that Google loves.
<strong>TL</strong>-WPA281/<strong>TL</strong>-<strong>WPA271</strong><br />
Wireless N Powerline Extender<br />
Chapter 5 Pair Buttons<br />
5.1 Pair (Secure with 128 bits-AES)<br />
The Homeplug AV standard uses 128-bit AES (Advanced Encryption Standard) to safely transmit data<br />
between powerline dvices. For the powerline devices to communicate with each other, they all need to<br />
use the same Network Membership Key (NMK). Otherwise, they cannot unscramble the encrypted data<br />
sent in the powerline network.<br />
The Pair button allows you to set up a secure powerline connection with other HomePlug AV compliant<br />
powerline devices which also support the Pair feature. Here takes <strong>TP</strong>-LINK powerline devices for<br />
example (PA211 for device A and C, WPA281 for device B).<br />
5.2 Setting Up a Powerline Network with the Pair Button<br />
You can connect a number of devices on a powerline network, but you can use the Pair button on only<br />
two devices at a time.<br />
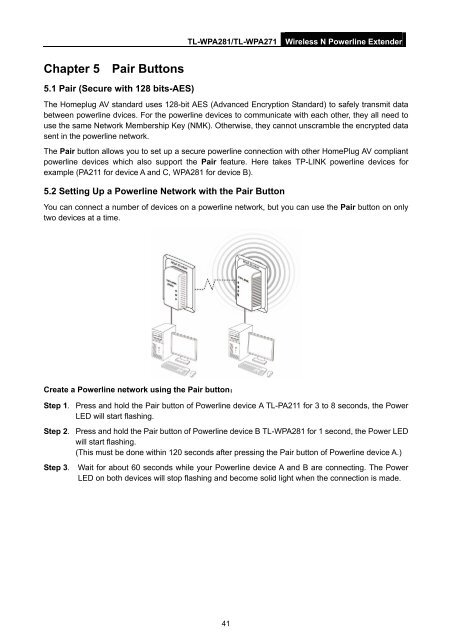
Create a Powerline network using the Pair button:<br />
Step 1. Press and hold the Pair button of Powerline device A <strong>TL</strong>-PA211 for 3 to 8 seconds, the Power<br />
LED will start flashing.<br />
Step 2. Press and hold the Pair button of Powerline device B <strong>TL</strong>-WPA281 for 1 second, the Power LED<br />
will start flashing.<br />
(This must be done within 120 seconds after pressing the Pair button of Powerline device A.)<br />
Step 3. Wait for about 60 seconds while your Powerline device A and B are connecting. The Power<br />
LED on both devices will stop flashing and become solid light when the connection is made.<br />
41