Mechanized Plasmarc Cutting Torch - ESAB Welding & Cutting ...
Mechanized Plasmarc Cutting Torch - ESAB Welding & Cutting ...
Mechanized Plasmarc Cutting Torch - ESAB Welding & Cutting ...

You also want an ePaper? Increase the reach of your titles
YUMPU automatically turns print PDFs into web optimized ePapers that Google loves.
section 4<br />
operation<br />
4.1 Set Up<br />
•<br />
•<br />
•<br />
•<br />
•<br />
Select an appropriate condition from the process data (SDP File) and install recommended torch frontend<br />
parts (nozzle, electrode, etc.) See process data to identify parts and settings.<br />
Position torch over material at desired start location.<br />
See Power Source Manual for proper settings.<br />
See Flow Control Manual for gas control procedures.<br />
See Control and Machine Manuals for startup procedures.<br />
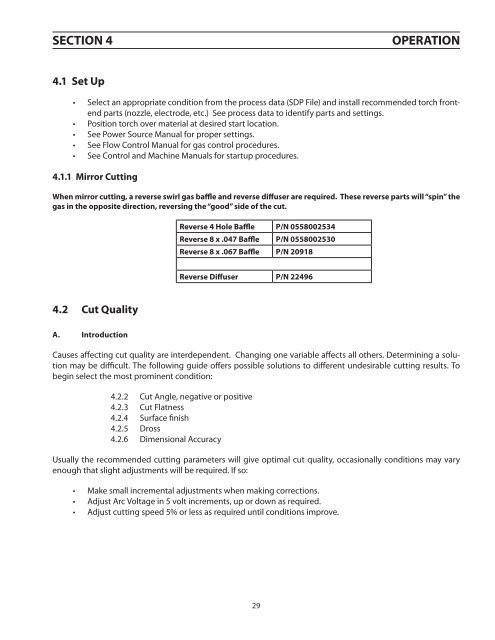
4.1.1 Mirror <strong>Cutting</strong><br />
When mirror cutting, a reverse swirl gas baffle and reverse diffuser are required. These reverse parts will “spin” the<br />
gas in the opposite direction, reversing the “good” side of the cut.<br />
Reverse 4 Hole Baffle P/N 0558002534<br />
Reverse 8 x .047 Baffle P/N 0558002530<br />
Reverse 8 x .067 Baffle P/N 20918<br />
Reverse Diffuser P/N 22496<br />
4.2 Cut Quality<br />
A. Introduction<br />
Causes affecting cut quality are interdependent. Changing one variable affects all others. Determining a solution<br />
may be difficult. The following guide offers possible solutions to different undesirable cutting results. To<br />
begin select the most prominent condition:<br />
4.2.2 Cut Angle, negative or positive<br />
4.2.3 Cut Flatness<br />
4.2.4 Surface finish<br />
4.2.5 Dross<br />
4.2.6 Dimensional Accuracy<br />
Usually the recommended cutting parameters will give optimal cut quality, occasionally conditions may vary<br />
enough that slight adjustments will be required. If so:<br />
•<br />
•<br />
•<br />
Make small incremental adjustments when making corrections.<br />
Adjust Arc Voltage in 5 volt increments, up or down as required.<br />
Adjust cutting speed 5% or less as required until conditions improve.<br />
29