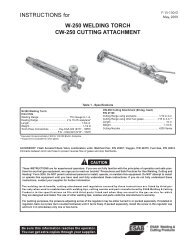
Mechanized Plasmarc Cutting Torch - ESAB Welding & Cutting ...
Mechanized Plasmarc Cutting Torch - ESAB Welding & Cutting ...
Mechanized Plasmarc Cutting Torch - ESAB Welding & Cutting ...

Create successful ePaper yourself
Turn your PDF publications into a flip-book with our unique Google optimized e-Paper software.
section 5<br />
Maintenance<br />
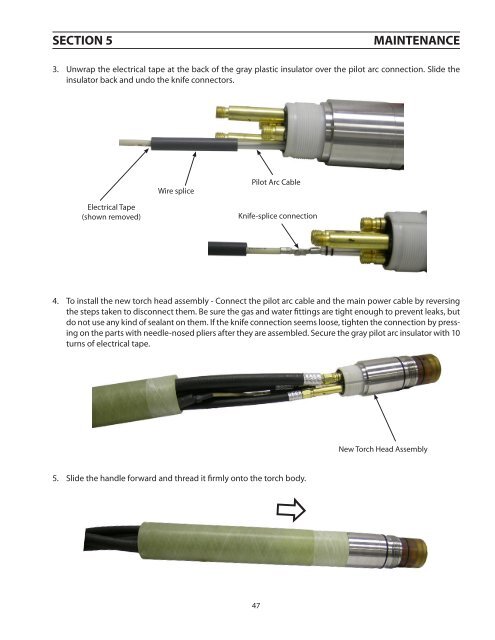
3. Unwrap the electrical tape at the back of the gray plastic insulator over the pilot arc connection. Slide the<br />
insulator back and undo the knife connectors.<br />
Wire splice<br />
Pilot Arc Cable<br />
Electrical Tape<br />
(shown removed)<br />
Knife-splice connection<br />
4. To install the new torch head assembly - Connect the pilot arc cable and the main power cable by reversing<br />
the steps taken to disconnect them. Be sure the gas and water fittings are tight enough to prevent leaks, but<br />
do not use any kind of sealant on them. If the knife connection seems loose, tighten the connection by pressing<br />
on the parts with needle-nosed pliers after they are assembled. Secure the gray pilot arc insulator with 10<br />
turns of electrical tape.<br />
New <strong>Torch</strong> Head Assembly<br />
5. Slide the handle forward and thread it firmly onto the torch body.<br />
47